


My all time favoruite color in the the e36s has always been Modena Brown, so i was determined to make it happen soon er or later and especially my E36 being hellrot red i knew it would look good.
Hetting a retrim woud cost over 2.5 k so was not a realistic option so i started looking at the Professional leather dys as it was somwthing i never was intertested in before and to be honest after seinhg some pictures and some peoples work i was amazed at the results that can be achieved.
Being kind of new to this my plan was to source a second hand e36 interior cheap whih in ireland is not easy, but eventually i found a complete vert interior including front and rear leather doorcards etc one up the north So picked that up at a good price.
It was filthy but not really torn or bady worn which was my main concern , i knew my work wold be cut out cleaning it. The reason i did not use my own interior was in case something went wrong i still had the oroginal so with the spare one i had a chance to properly experiment and luckily enought it was sand beige so agreat base color to work on.
So here is the interior i picked up and brought it ready for cleaning
The plan for the front doorcards was to remove the insert and dye it and bond it back to my black doorcard, this will be the most difficult part of the job
As you can see its really filthy and needs a serious cleaning, to make lifeeasier i used a steam claner, dr leather, apc, nail brush all sorts of leather cleaner but the biggest help was the steam as it lift all the crap out of the leather
Then i softened any neccesary ares with leather condirioner
After letting them dry you can see the differnece before and after, it m ay look dirty in aptches but its not actual dirt as such but more so light stain which i could not removce but knew the dye would easily cover them
So after waiting few weeks for my color to mixed up i was getting frustrated ,
I was anxious to get stuck in, the main thing in this kind of job is Preparation ios the key to a good result.
So the two main things i wanted to do was to us the cleaner that came eith the kit and the alcohol prep so to make sure i have good clean surface to work on.
Firstly i started on the small centre piece from the rear bench
Look at the color didfference
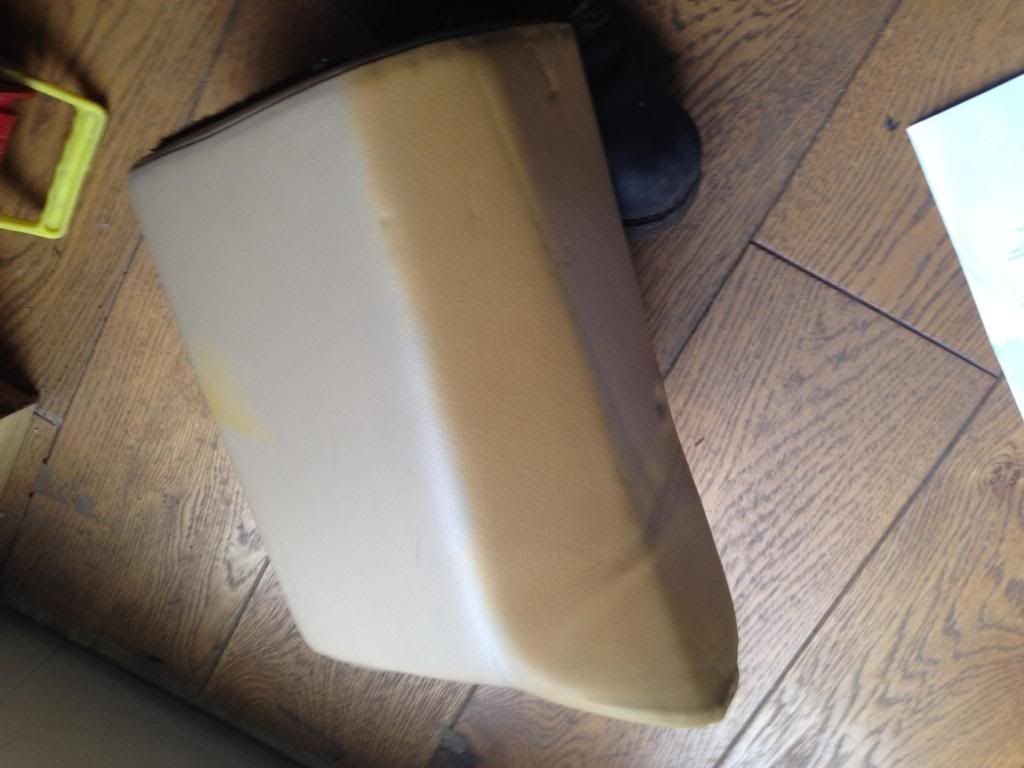
Next weas the side panel
The other side needed some filler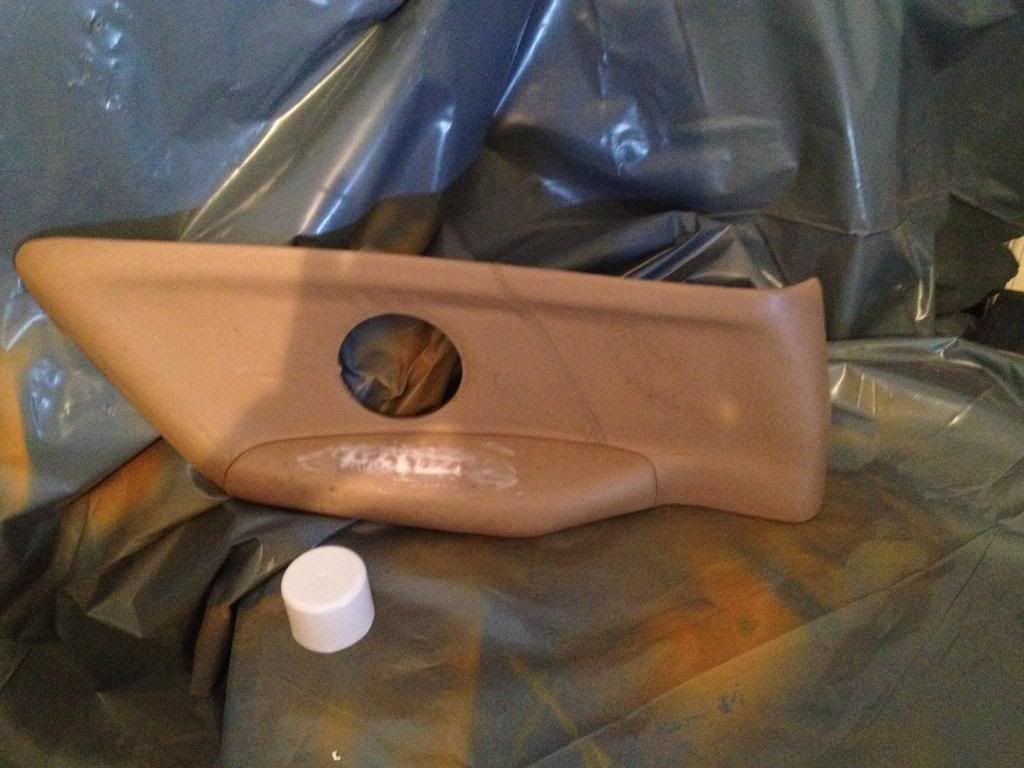
<a href="http://s216.photobucket.com/user/claudio1981/media/Modena%20Brown%20Restoration/IMG_5197_zpsd80a0a99.jpg.html" target="_blank"><img src="http://i216.photobucket.com/albums/cc181/claudio1981/Modena%20Brown%20Restoration/IMG_5197_zpsd80a0a99.jpg" border="0" alt=" photo IMG_5197_zpsd80a0a99.jpg"/></a>
Fianlly got the small pieces all done, to be honest its one of thise colors that hard to photograph but my lighting conditions did not help
[hr]
Here is a sample pic of what the car should look like eventually
Starteed on the rear lower seat which was straight forward
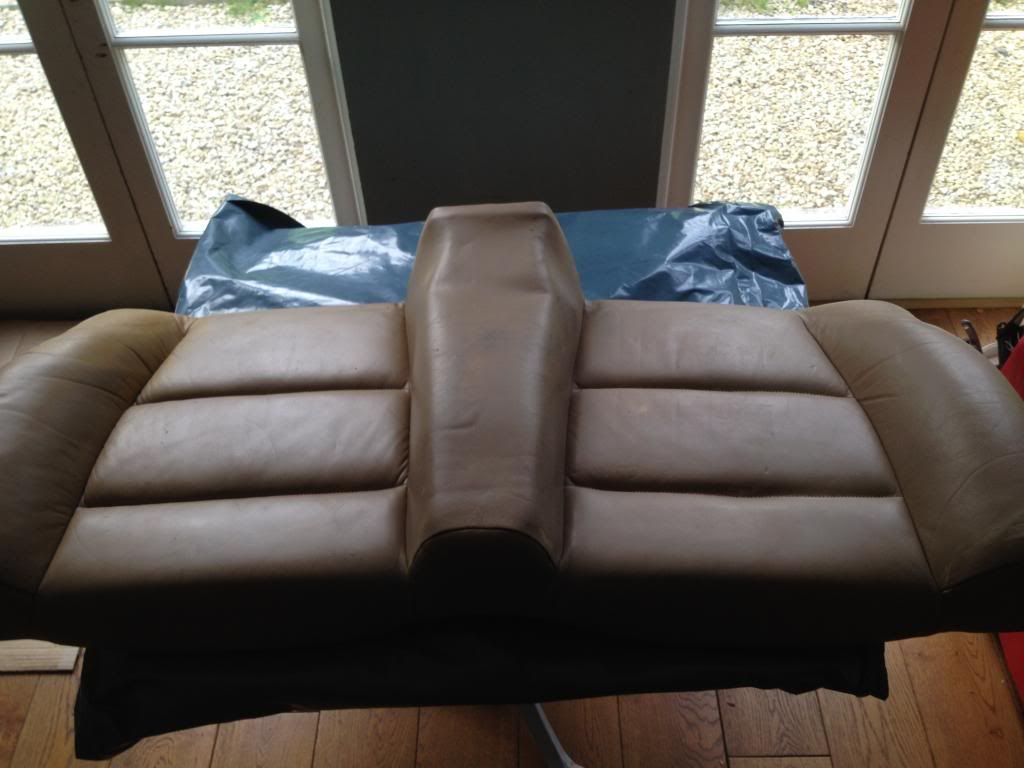

The top rear needed some filler
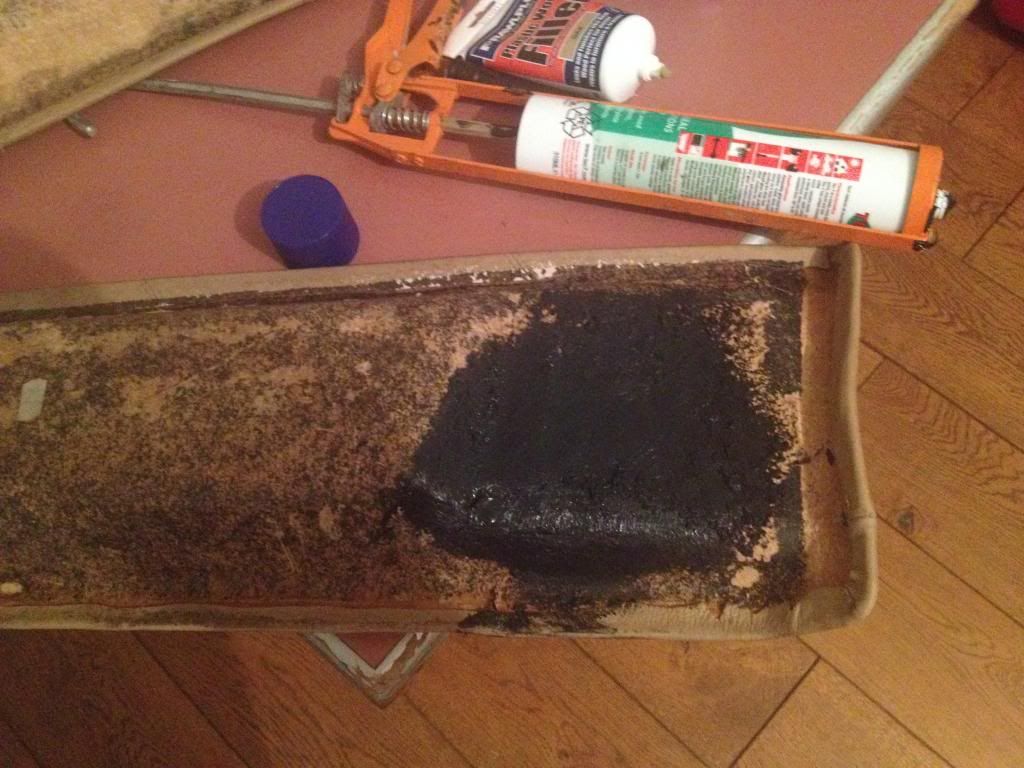
Biggest nightmare was the front door cards, i had to remove the insert very slowly with out damaging it and that proved impossibile, i eventually got them, off and luckily only a small bit of that pressed wood or whatever crap ots amde from broke off and was ledt stuck the the frame.
These seem tro be bon ed on my some very strong contact adhesive so i will have to do the same.
I was a little annoyed that there was bit of the front insert ripped off so i was thinking oif a way to build it up or fill it in in some way.
Could not really find anything suitable and slightly flexible so i managed to get some platic wood filler and tec 7 and i slowly made the shape again with my hand and plety of washing up liquid as a lubricant, it actaully worked iut well as its super strong and will flex a bit .
Had to remove the armrest from the car
Nedded some slight filler
First coat
Second coat and sprayed
Satin sealer applied 2 times for strength
ght
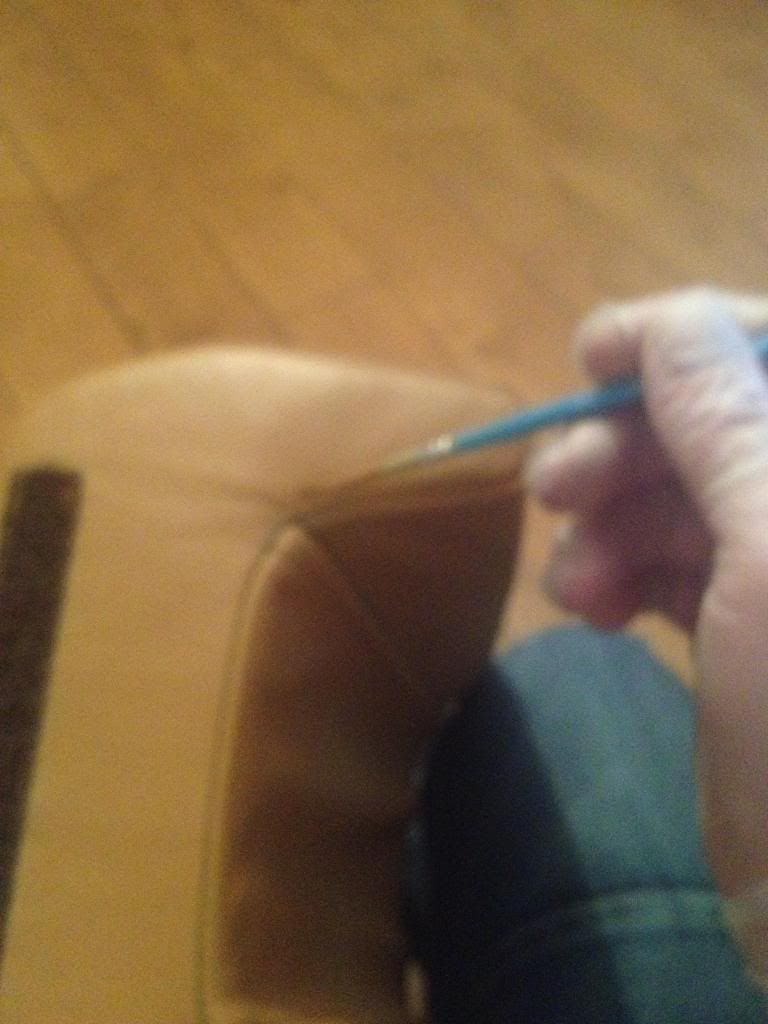
Used a very fine detail brush to go over any hard to reach parts or stitching area
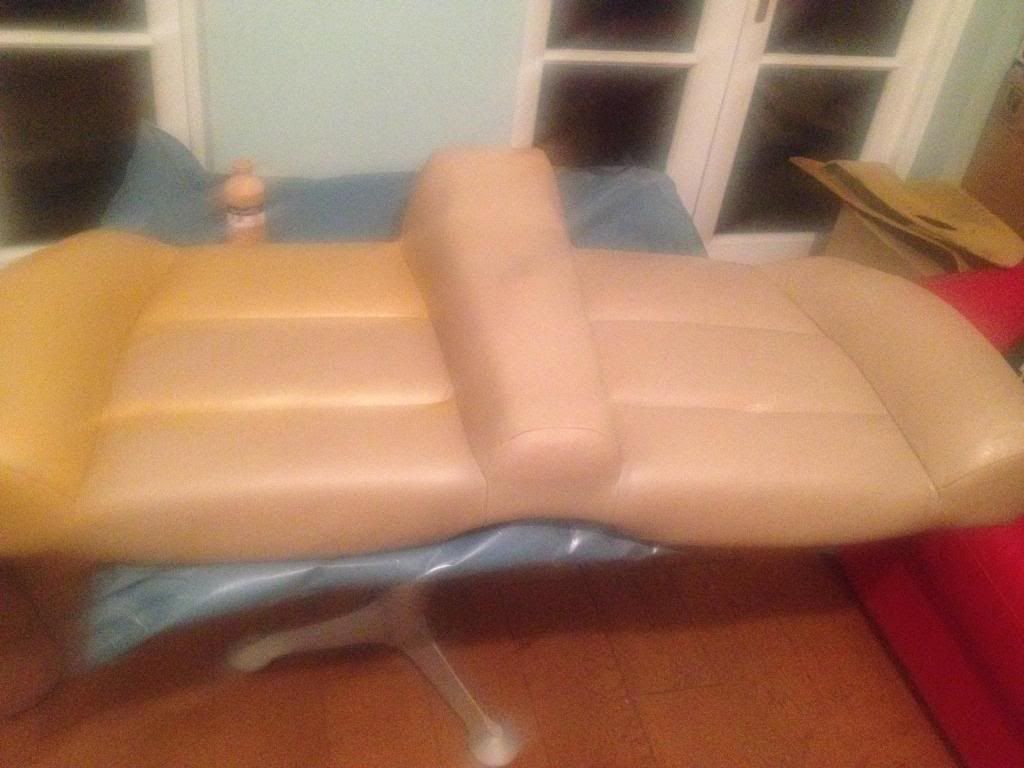
Here is the progress so far, bear in mind all these parts i hve not yet applied the sealer so it will look evern b etter when done but it gives you an idea
Left to do now is the two vaders but not sure i will do them myself or have them done for me
[hr]
and bond the door cards after i dye them
Keep an eye on this thread for more updates


 Reply With Quote


