-
BMWHaus Site Sponsor

-
BMWHaus Site Sponsor
-
BMWHaus Site Sponsor
-
BMWHaus Site Sponsor
-
BMWHaus Site Sponsor
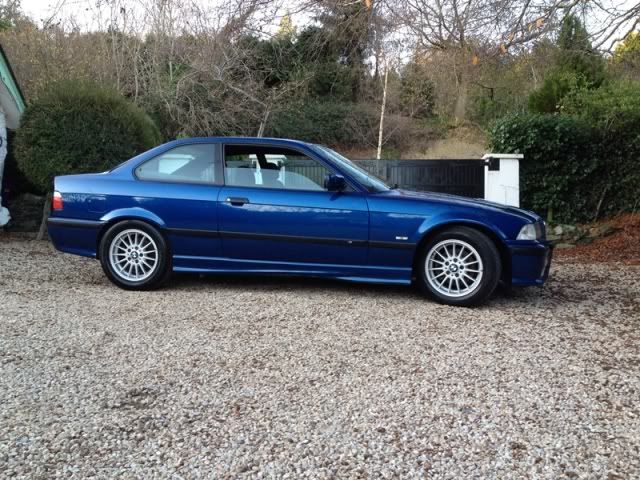
RE: Super4 E36 318isc demo car
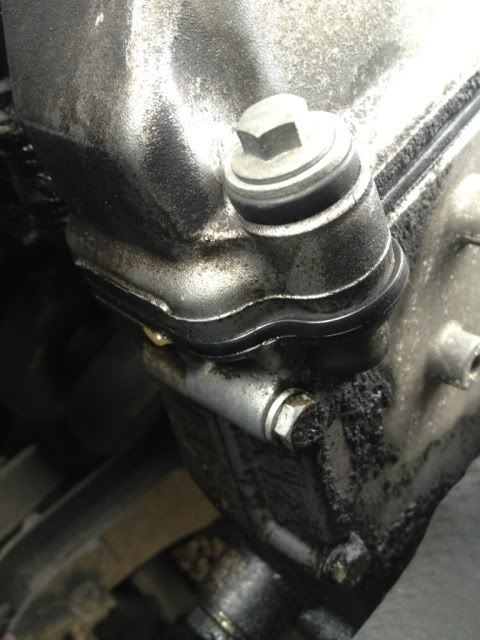
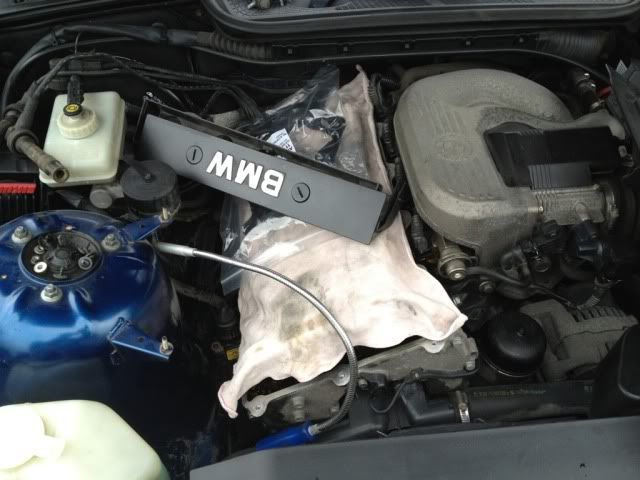
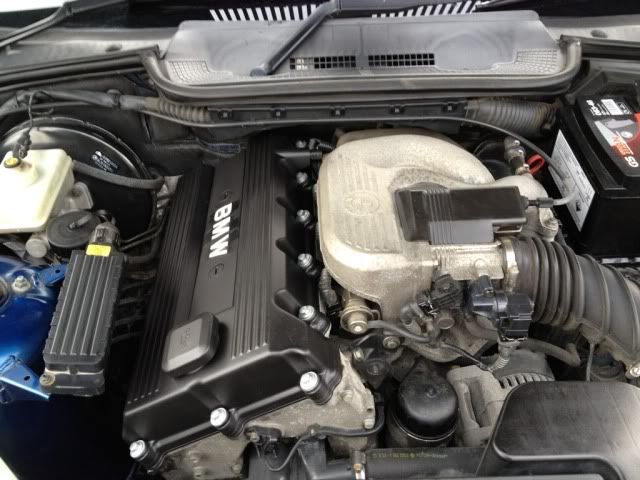
Decided I would change my rocker cover gasket (As it's been leaking a while by the look of it) that I had bought earlier last week seeing as it was a nice day and not raining. All went fine apart from the rocker cover really being stuck on and pipe number 13 being soft, brittle and coming away from the rocker cover itself. Shall have to sort this tomorrow, trying to get as much done over these few days as I want to start driving the car and enjoying it 
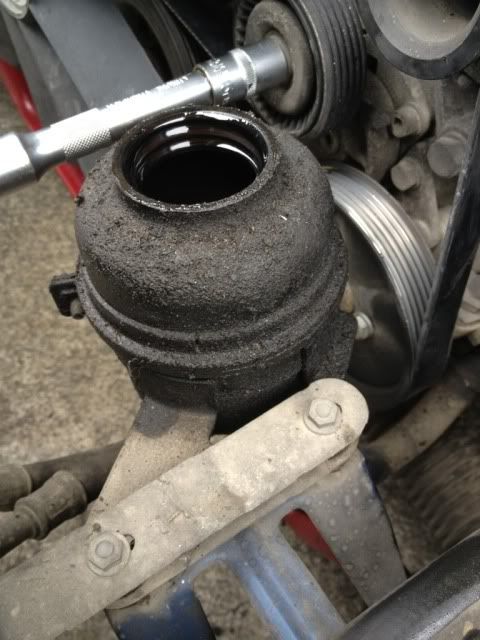
A little oily :
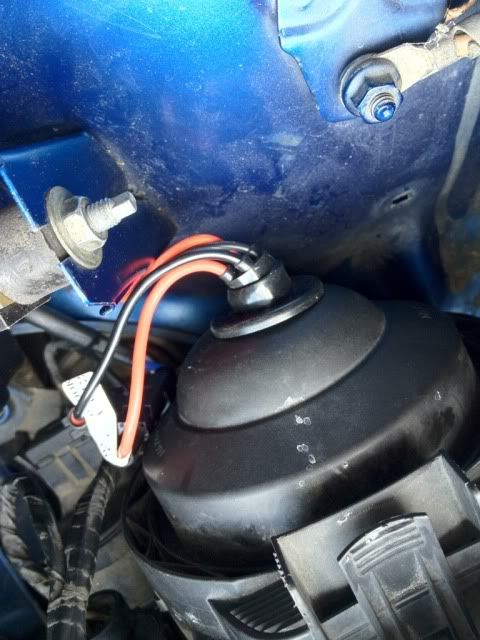
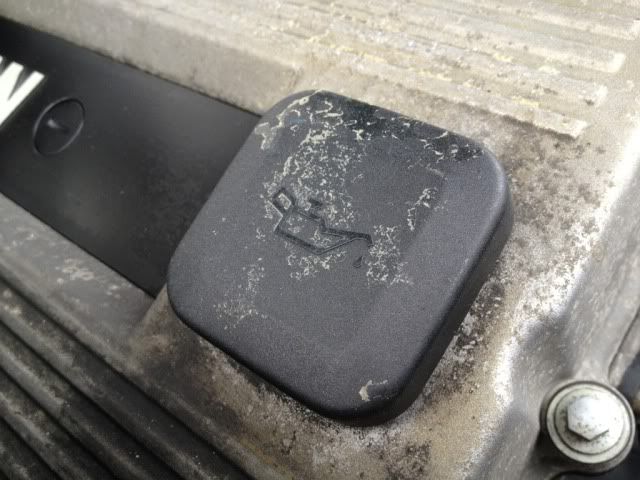
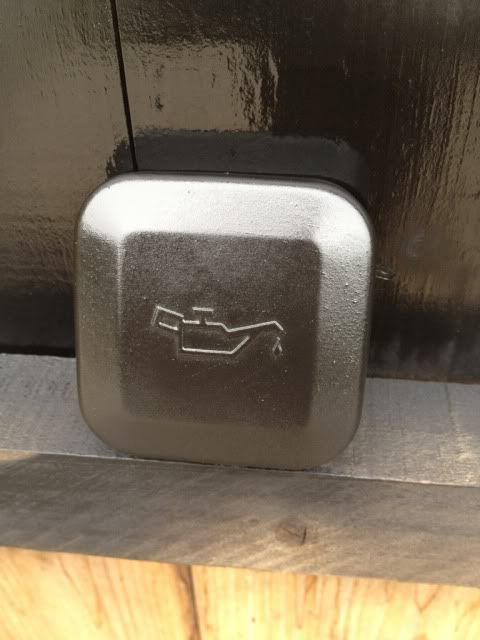
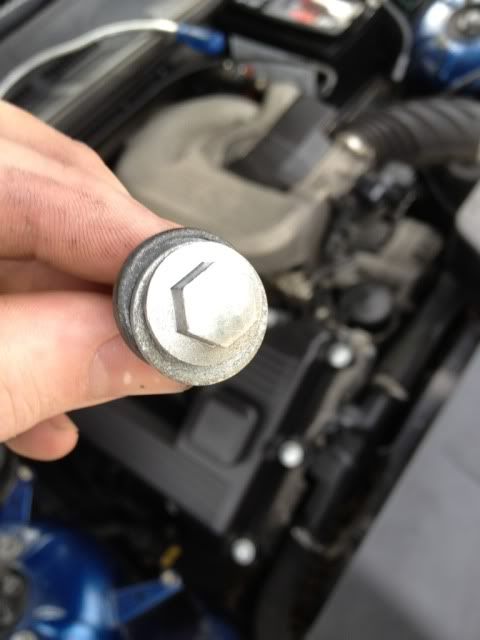
Figured my oil cap needed some love :
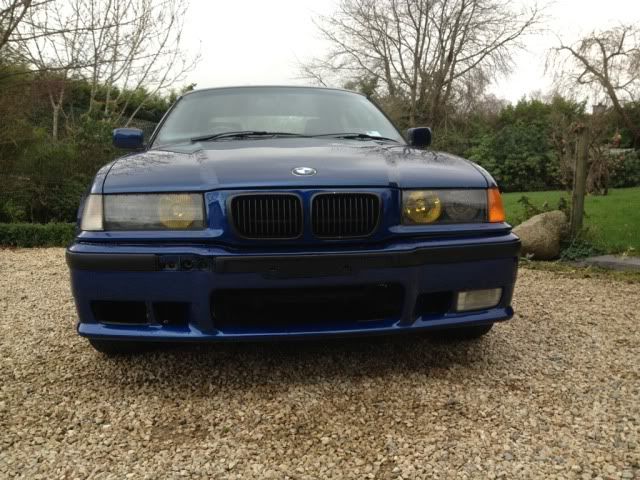
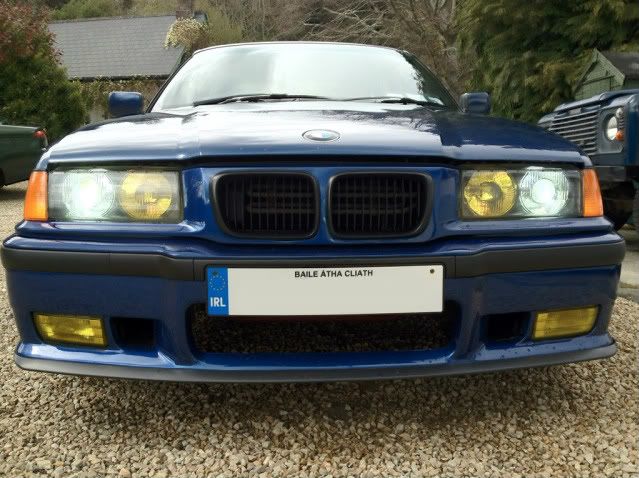
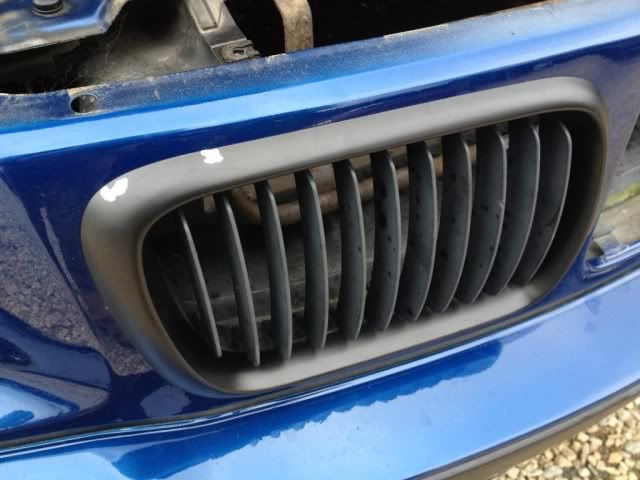
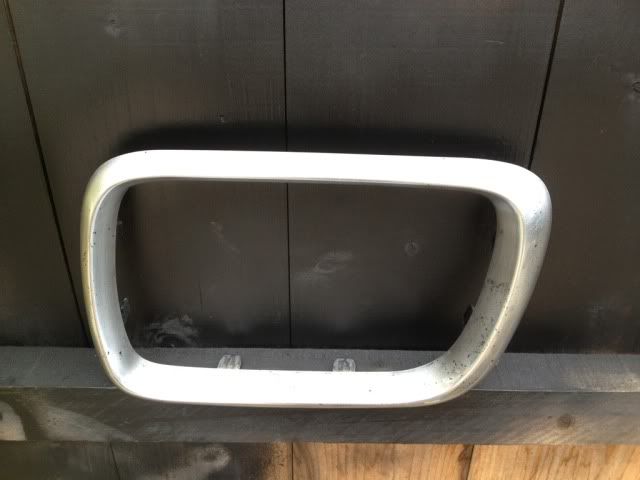
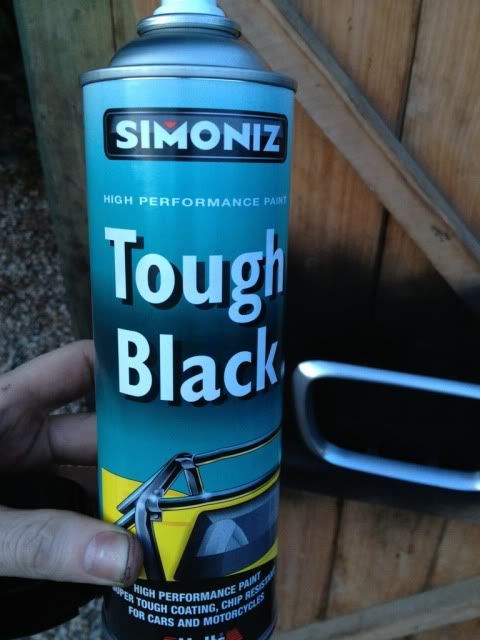
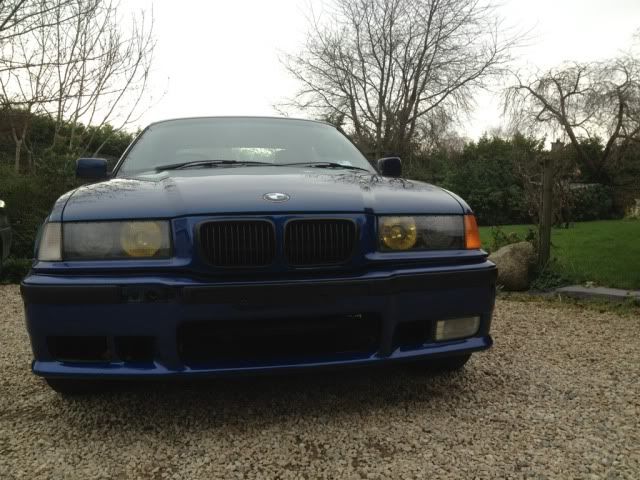
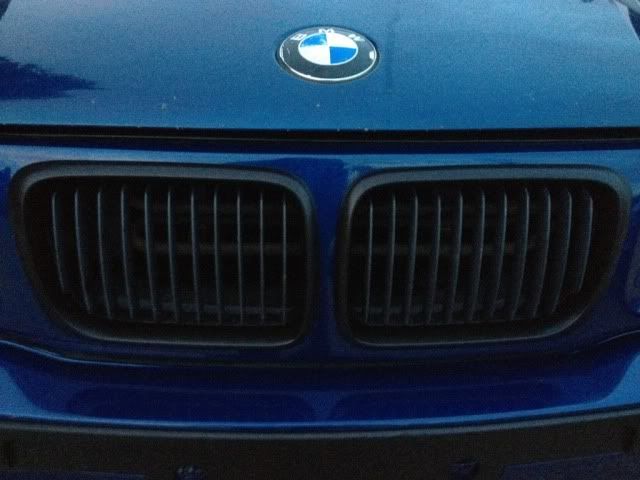
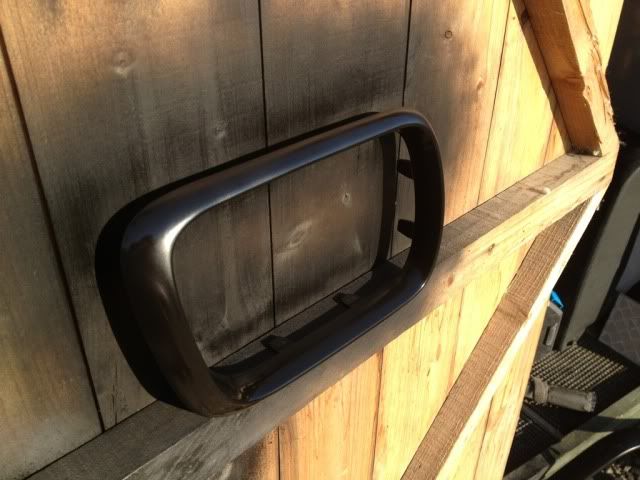
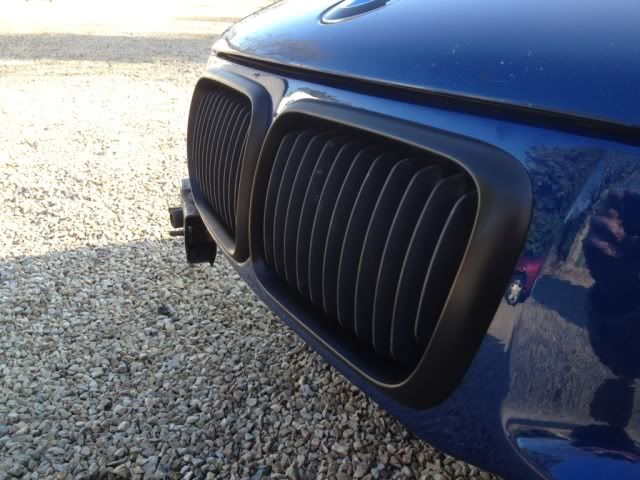
Also noticed my kidneys I had painted last week were already chipping yet I haven't even driven the car..... eek I couldn't figue this out until I heard a PIIIINNG when I looked around my nutty dog was chasing his ball and had kicked up stones onto the grill thus chipping the paint. So these came back off, I went and bought some tougher paint as the other stuff was coming off way to easily! :shifty:
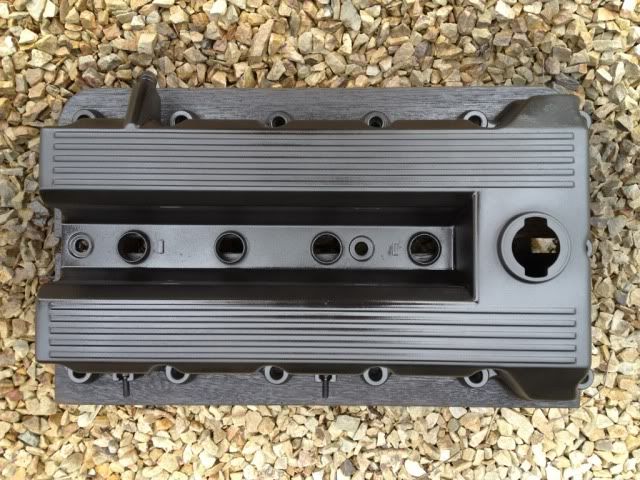
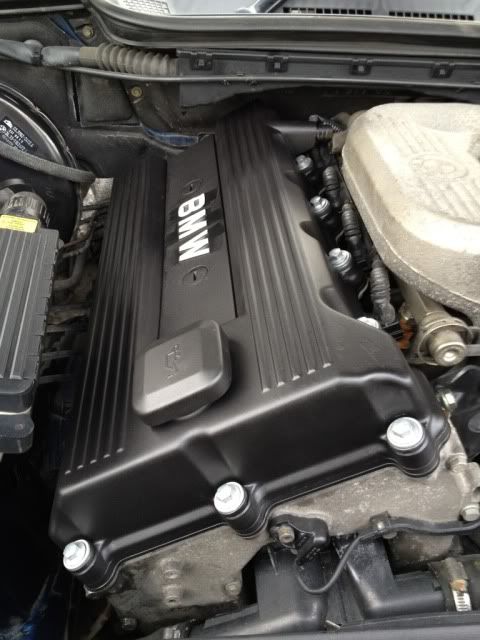
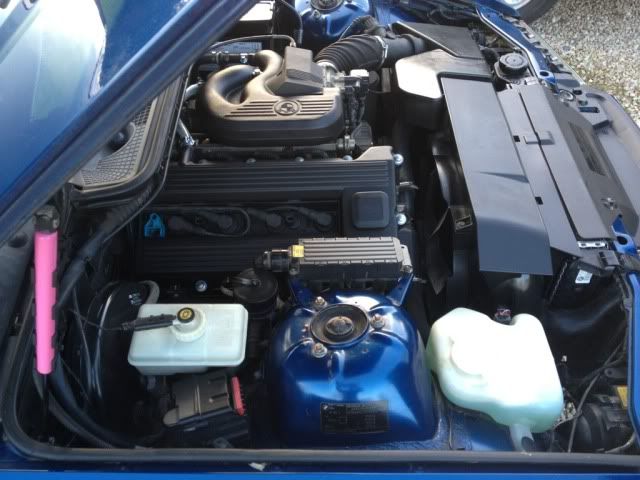
In between all that I decided I wanted to paint my rocker cover and yes you guessed right it is now black  , I had done my 166 engine the same and really liked how it came out so this was to get the same treatment although there shall be a very slight twist coming at a later date.

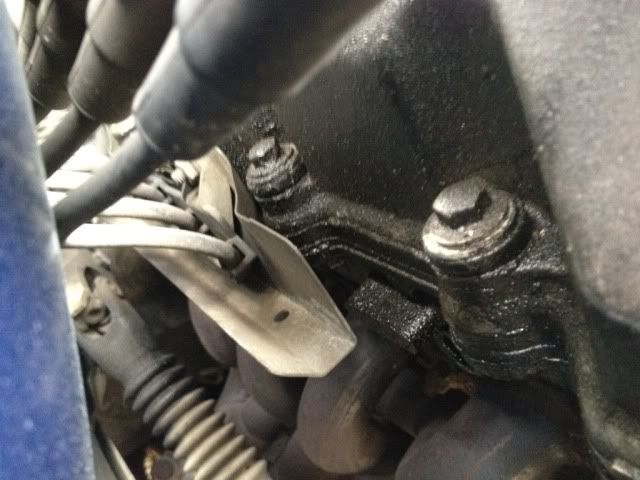
The rocker cover stud bolts were manky so they had to get some attention also :
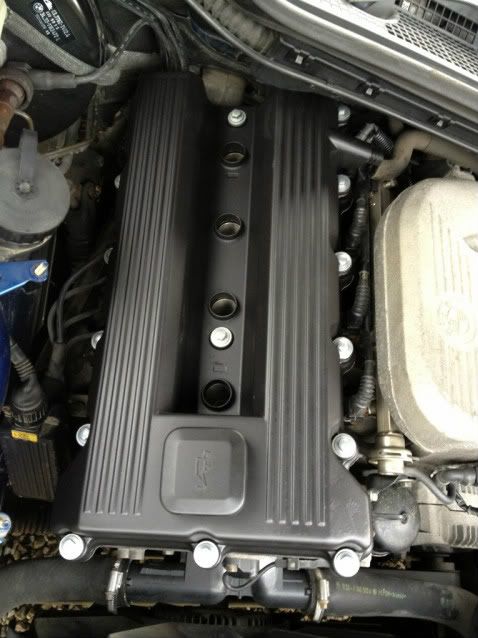
All done and back together :
Will be changing the setup on the spark plug cover very shortly as I don't like it and i rushed painting it due to being very hungry
[hr]
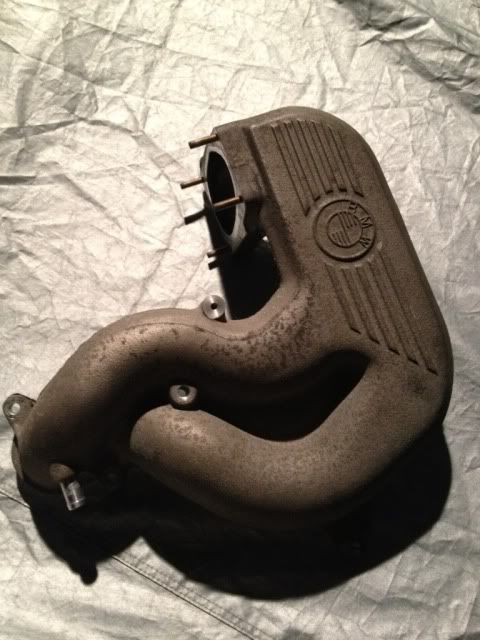
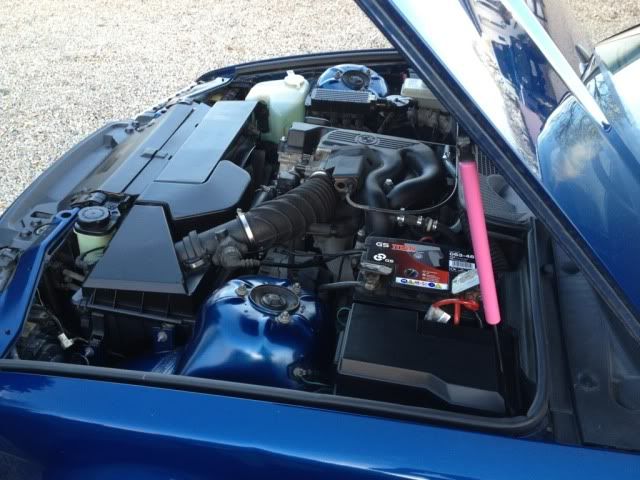
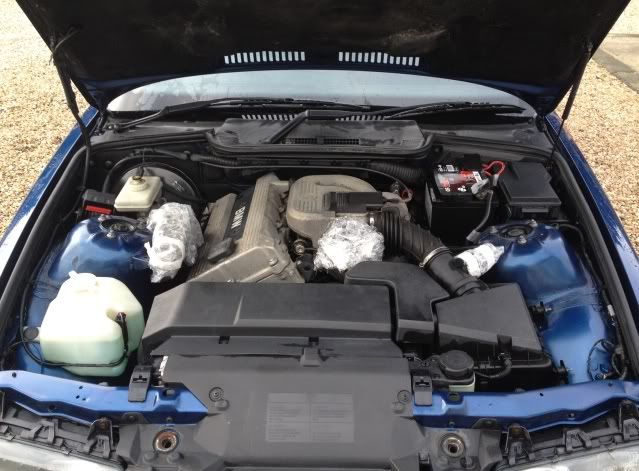
Last night before I went in from the cold after having a day at the bimmer I decided to do one more thing, it was a kind of spur of the moment thing. Basically I was looking at my new freshly painted rocker cover and decided the upper half of the inlet manifold really needed some paint too 
So off it came in the pitch dark using the torch on my phone :
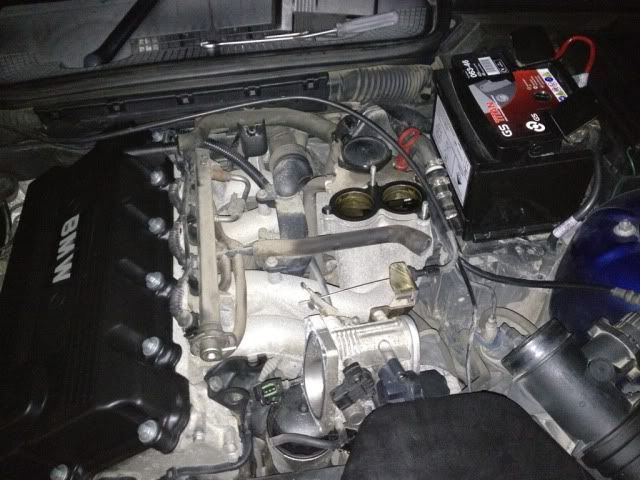
Then this morning when I got up it was time to get stuck back in again and get scrubbing and painting, it took no time at all last night to whip it off about 10-15 minutes then today about an hour scrubbing, painting and re-fitting. I was tempted to do the other half of the inlet but my sensible side took over as I thought to myself "it will never see the road if i keep pulling it apart" so I held back.... I'll get it at a later date, lol
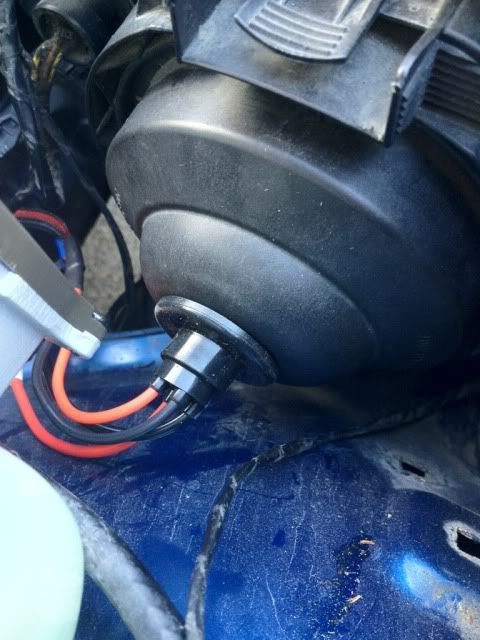
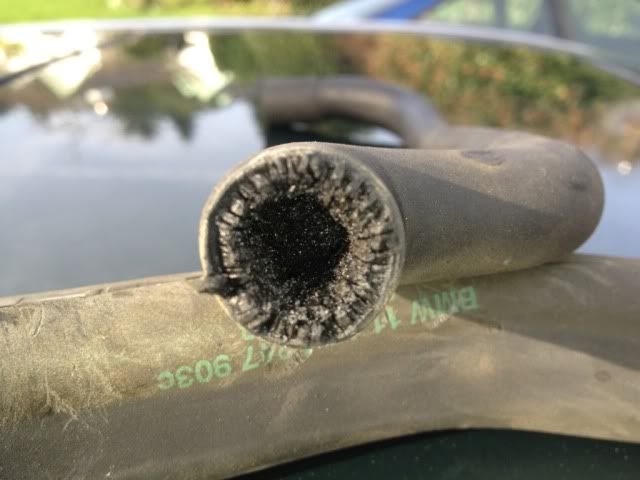
MY SHAGGED AND BRITTLE BREATHER PIPE :
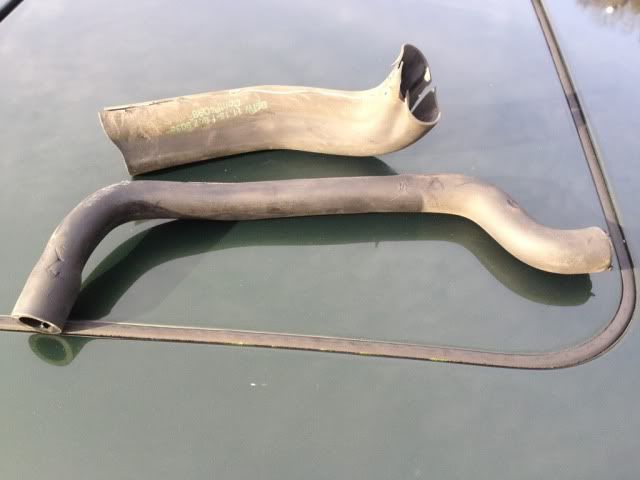
THIS WAS SERIOUSLY FECKED.... :
I wanted to get the car driving today (which I did) so I went to my local diy and picked up the finest (:sarcastic) of braided garden hose as a temporary measure to replace the shagged breather pipe . On it went and working a treat, although seeing as this is not resistant I wouldn't want to be leaving on for too long me thinks.
LE LUMP :
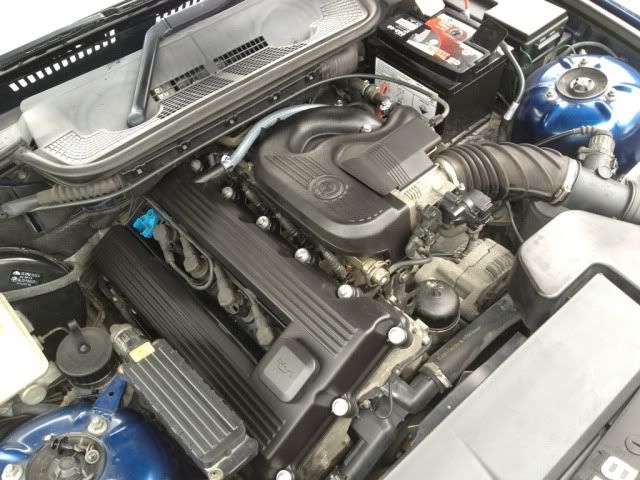
And all back together....ha ha for how long though??? :
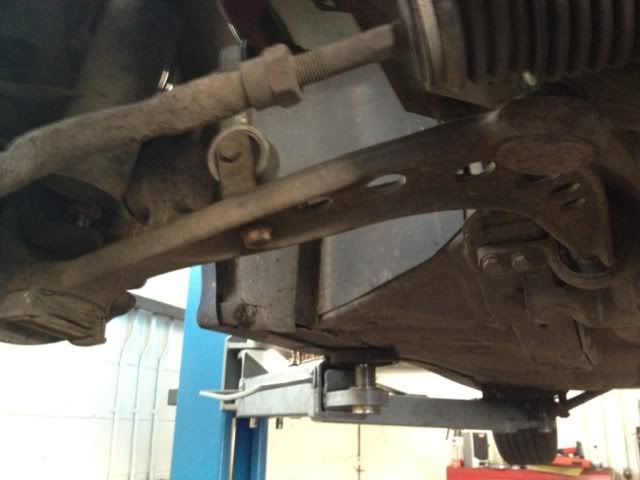
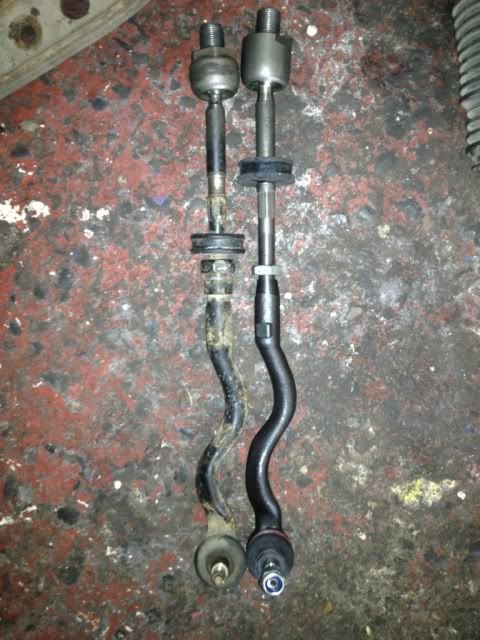
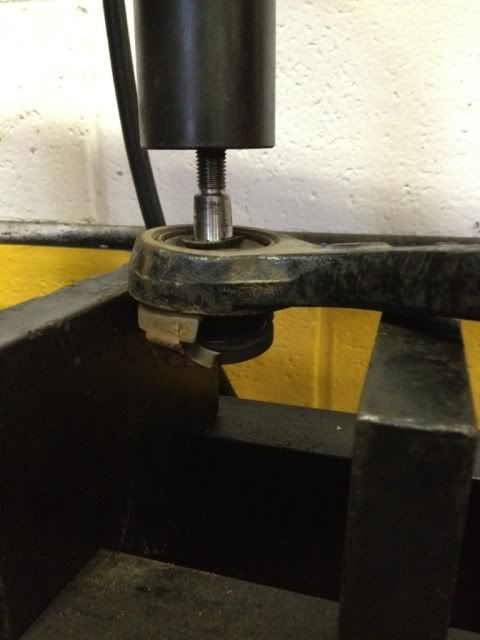
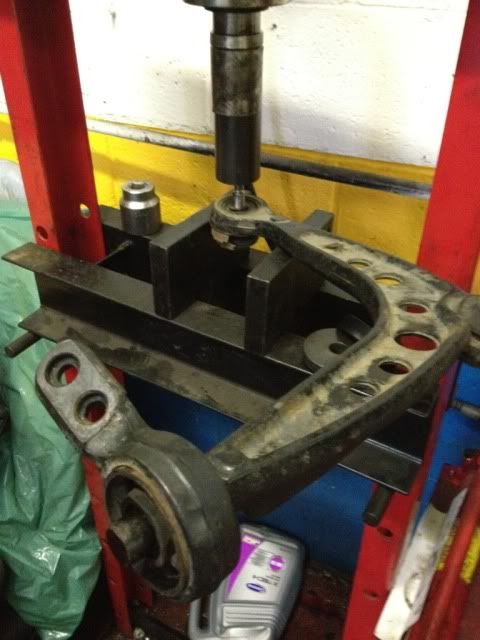
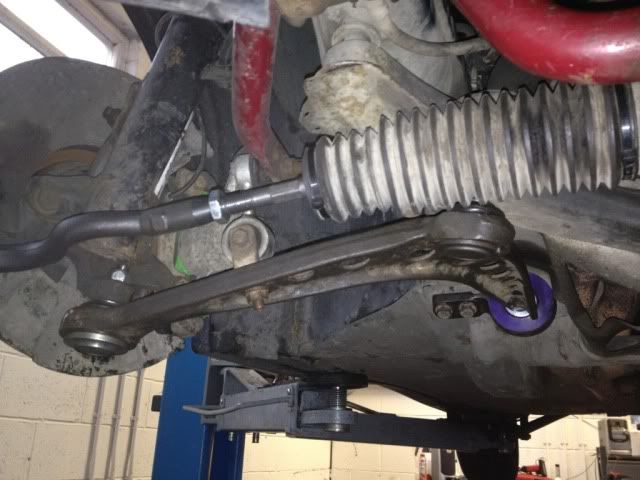
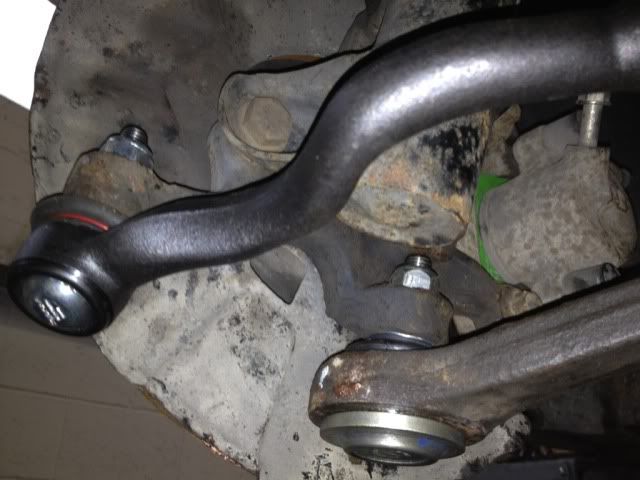
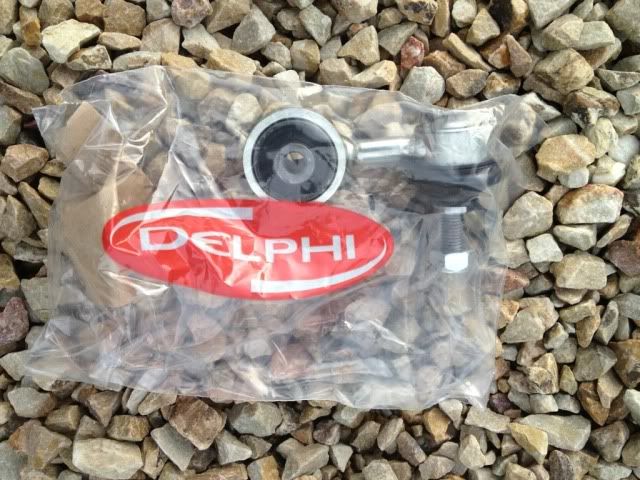
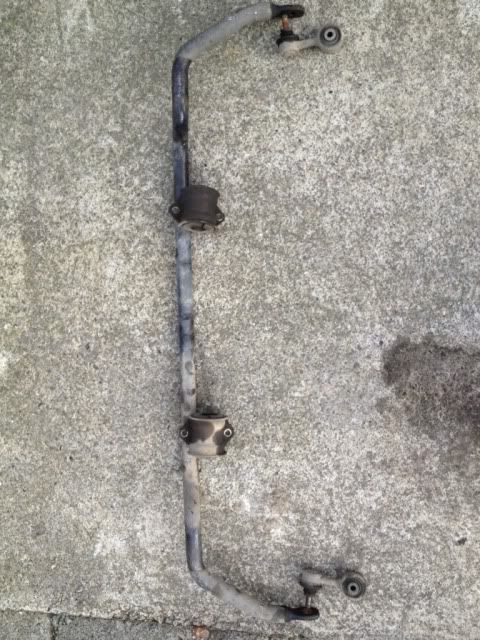
......Well that wasn't long, think I took a break for an hour then decided to go back at it and tackle the front ARB as I had picked up new drop links today. Totally forgot I had ordered the Meyle ones!!! when they arrive i'll have a spare set LOL,
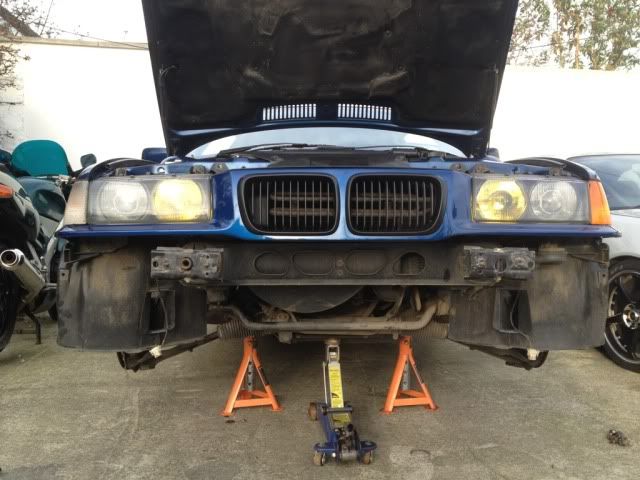
Cannot wait for the new discs to arrive then I can get my pads on, hard to see in the picture but the front discs have a nice lip on them indeed!! :
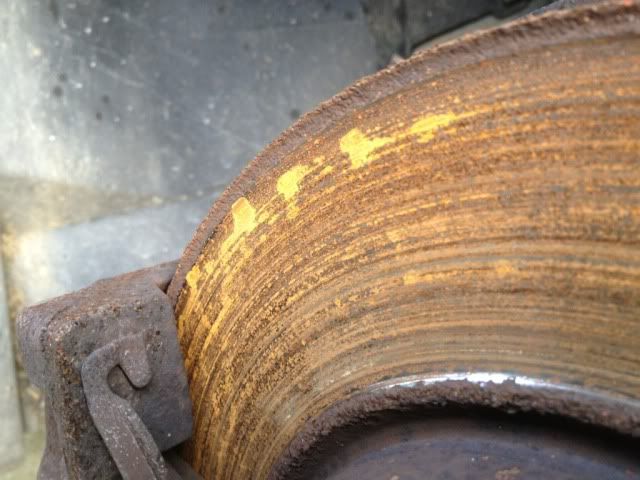
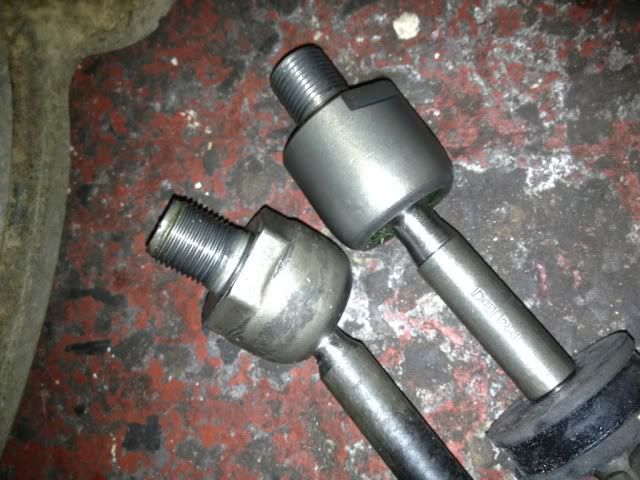
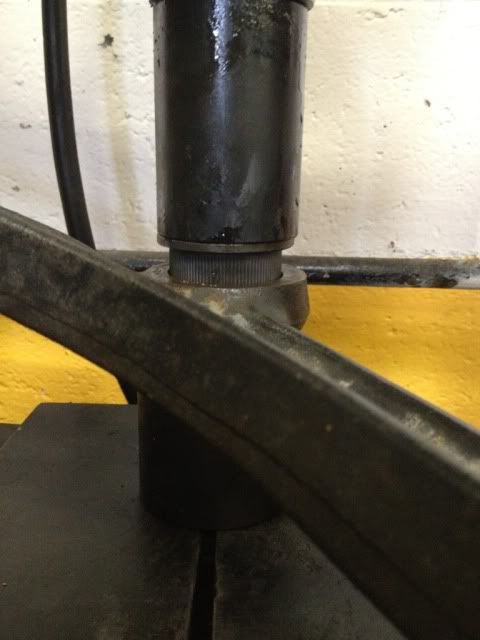
OUT WITH THE OLD AND ALL THAT :
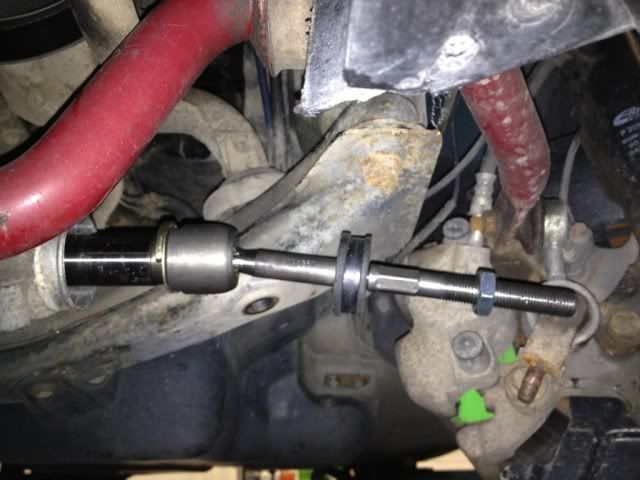
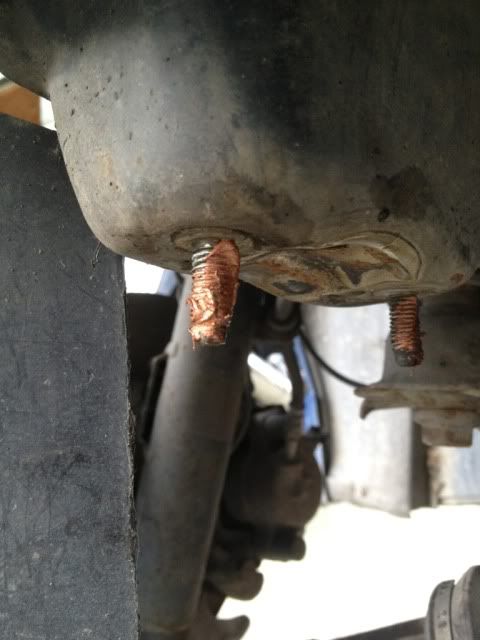
EVERYTHING COPPER GREASED FOR EASE DURING FUTURE TINKERING :
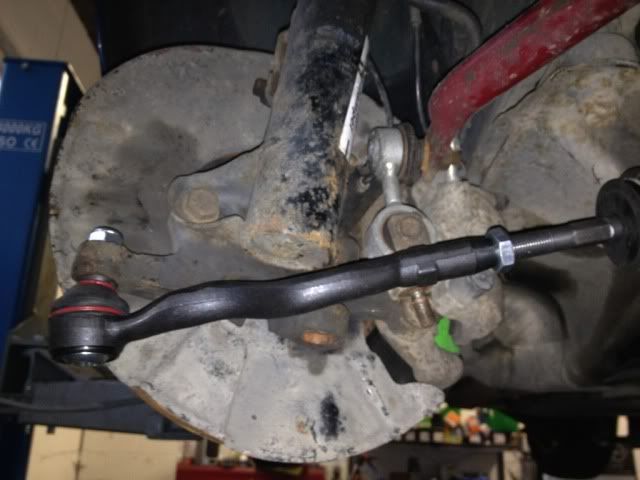
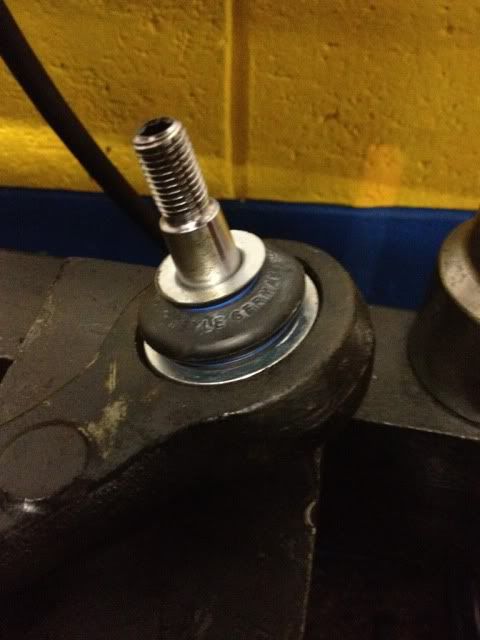
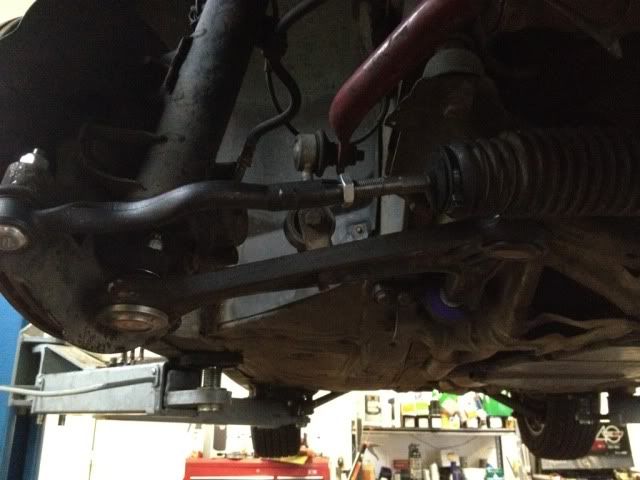
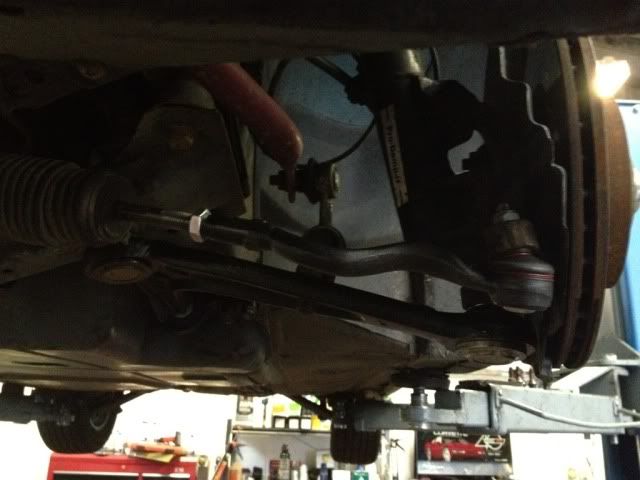
AND IN WITH THE NEW :
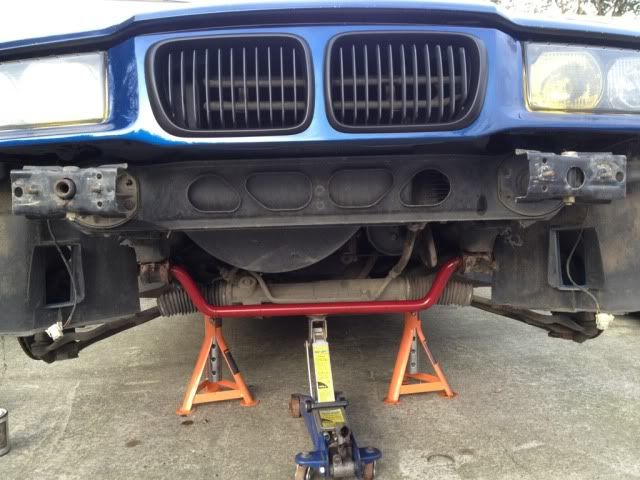
CLOSE UP OF THE GRILLS :
Some more snapping, left it jacked up tonight as I shall be getting stuck in tomorrow on the front shocks and springs hopefully :

Thats it for today as always thanks for looking
-
BMWHaus Site Sponsor
RE: Super4 E36 318isc demo car
Evening all,
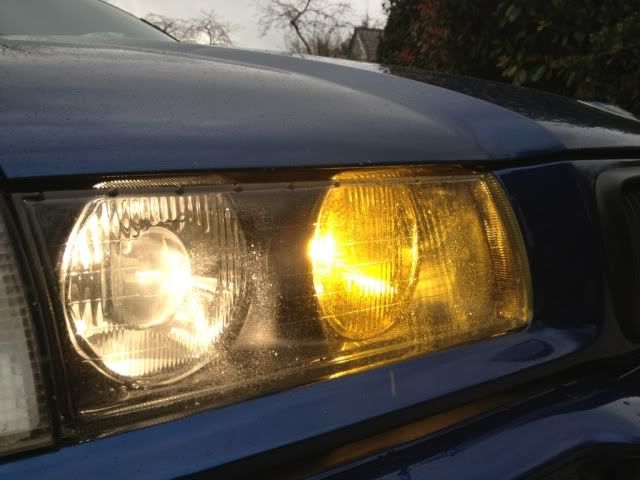
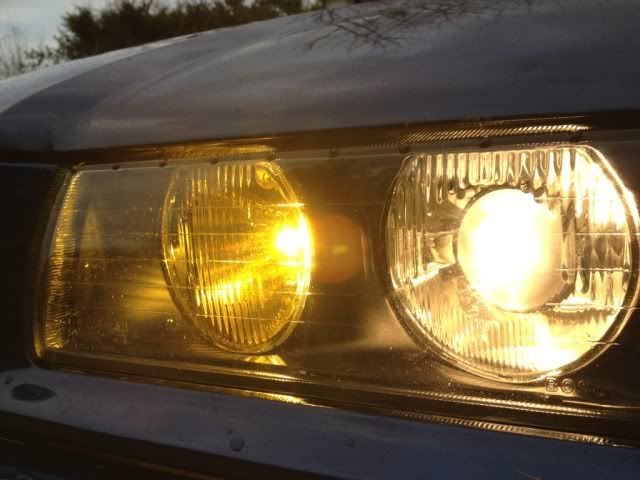
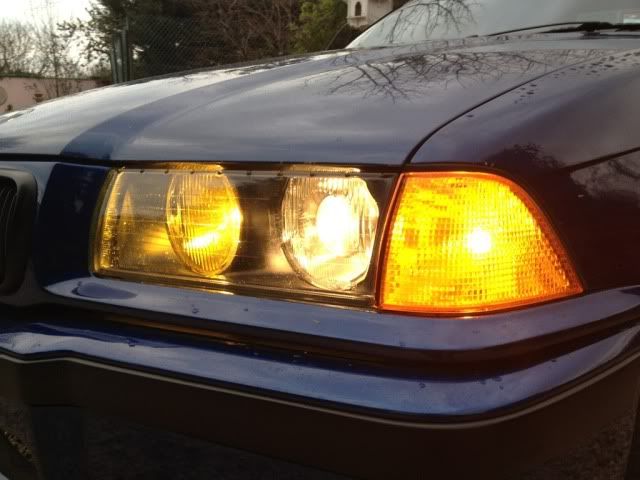
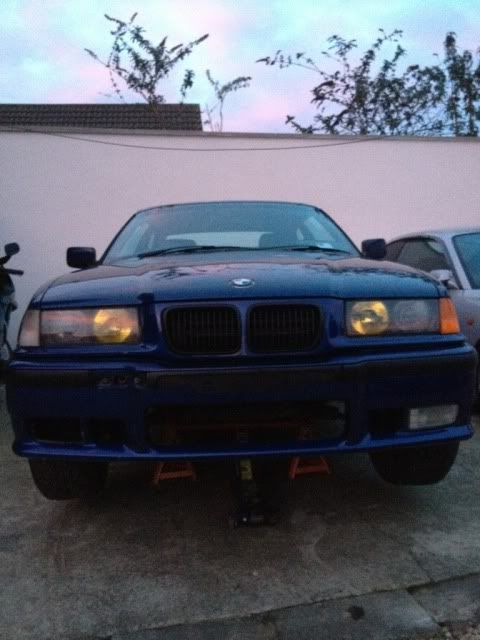
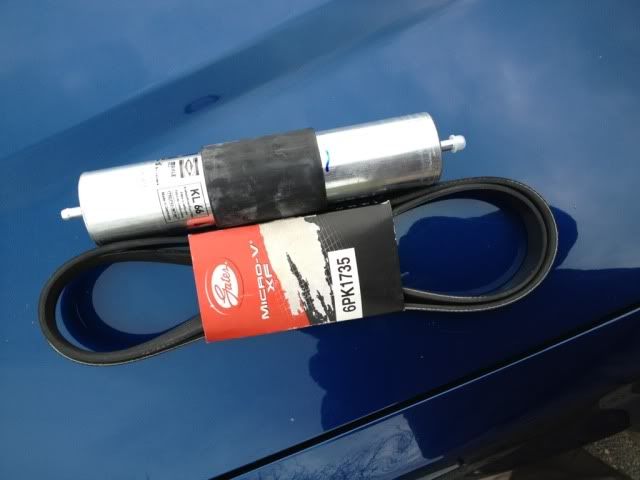
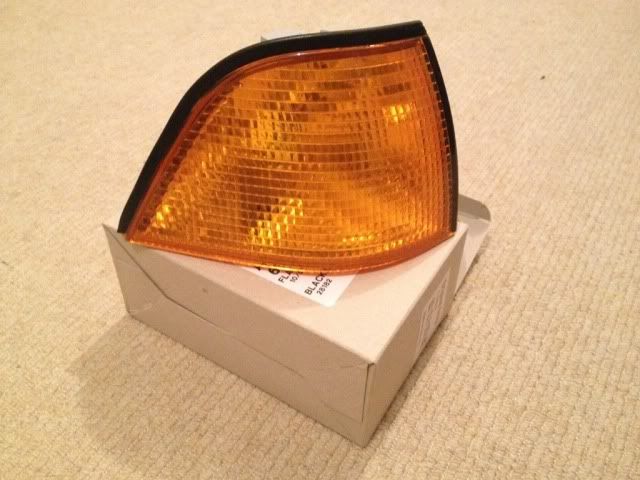
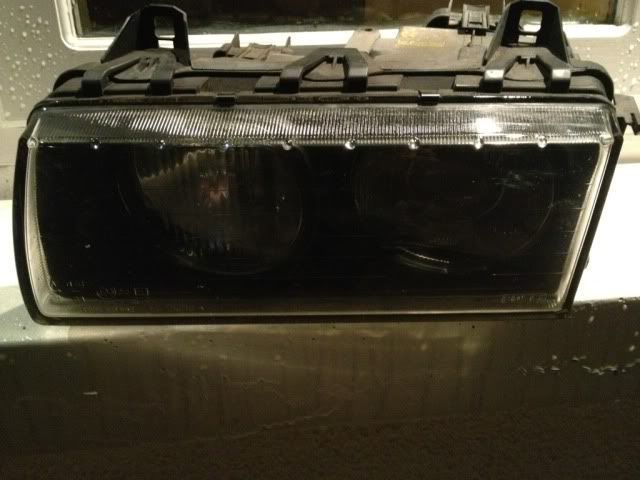
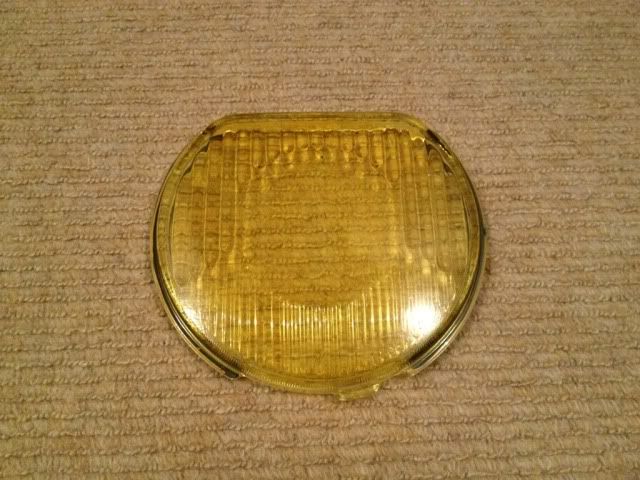
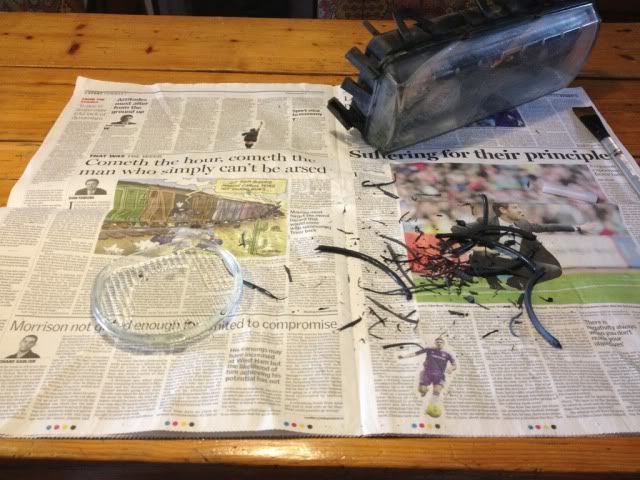
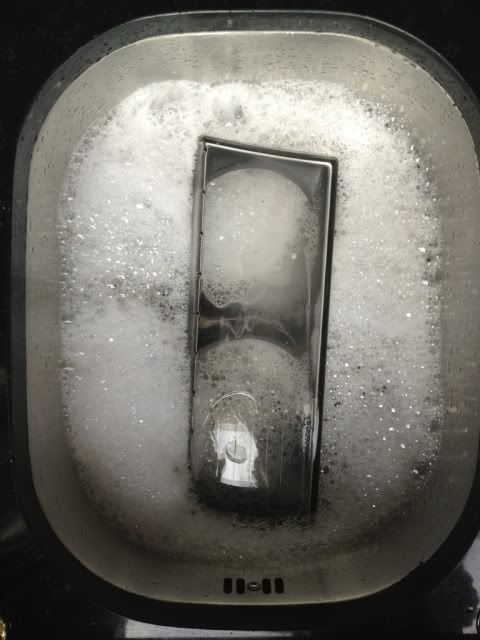
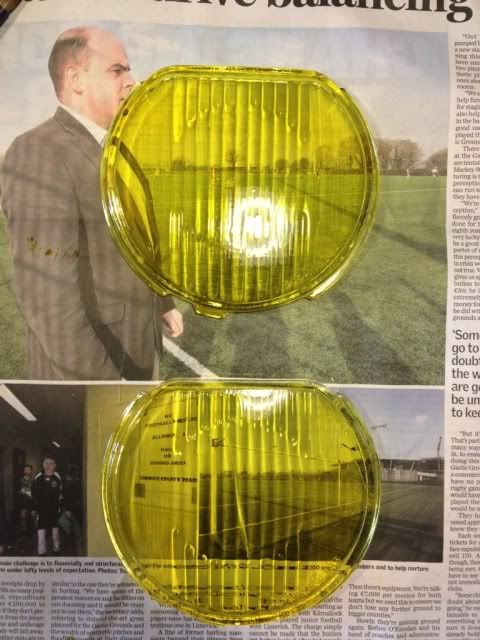
Not a huge update really just more maintenance which shall be the case until I think it will be ready for fun stuff . Today I picked up my new fuel filter and Gates Alternator belt, plan is to fit these tomorrow along with (FINALLY) my other amber corner lamp Woo Hoo.
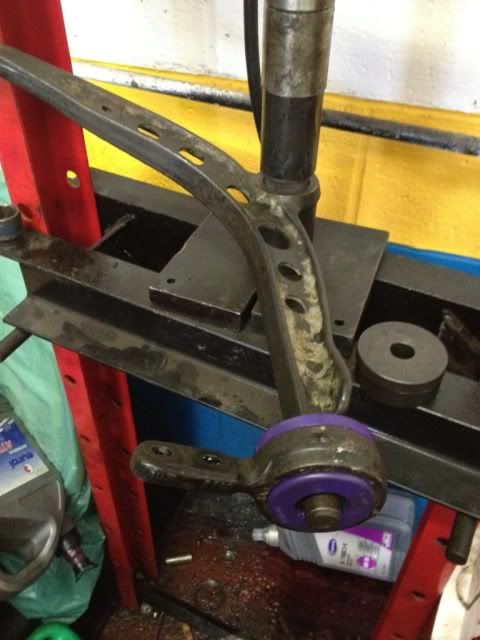
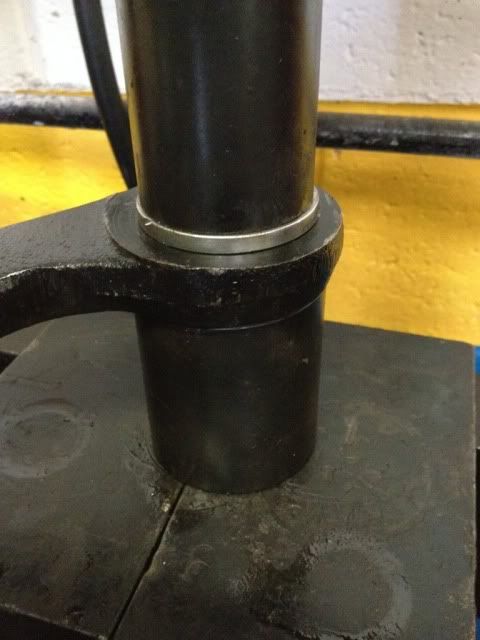
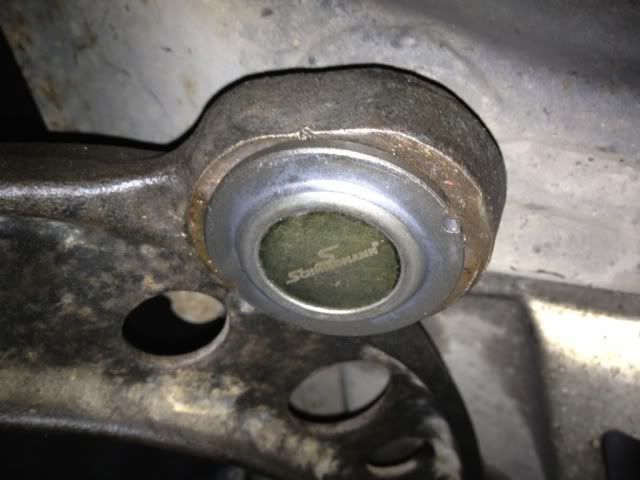
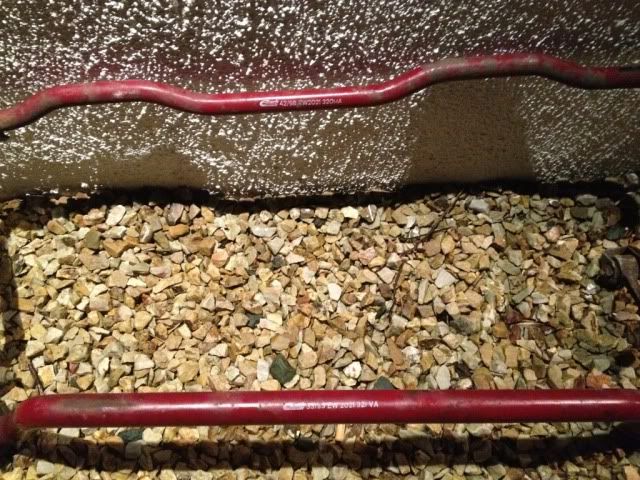
I decided I would fit my new Meyle HD top mounts this afternoon and whilst I was there I was going to fit my Eibach rear springs and Eibach ARB but I decided to hold off until I had new rear drop links which I shall pick up tomorrow along with standard rear discs. Once I have these I shall tackle the lot and install the EBC greens.
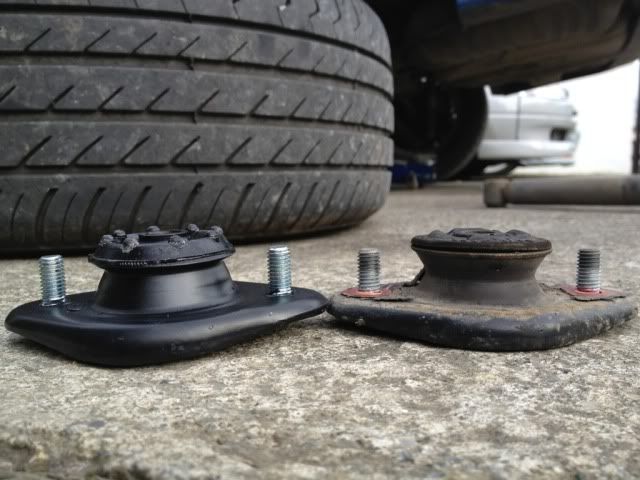
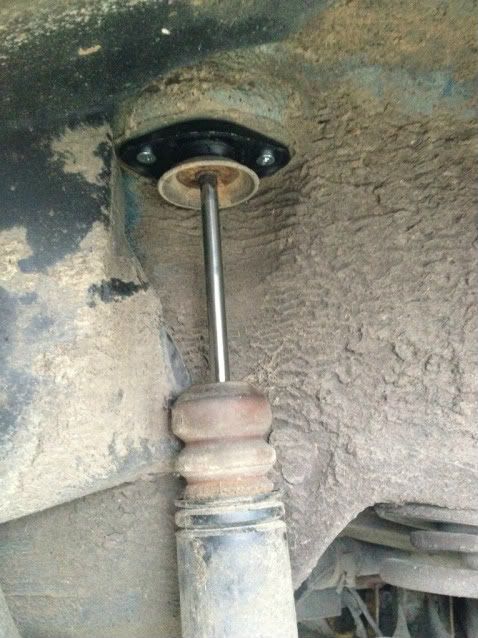
BEFORE :
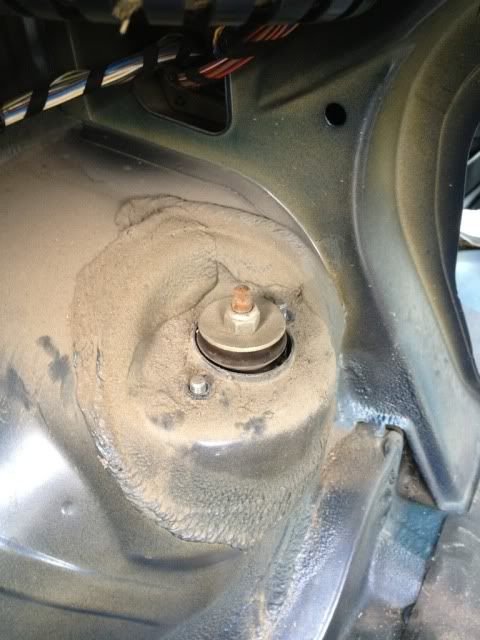

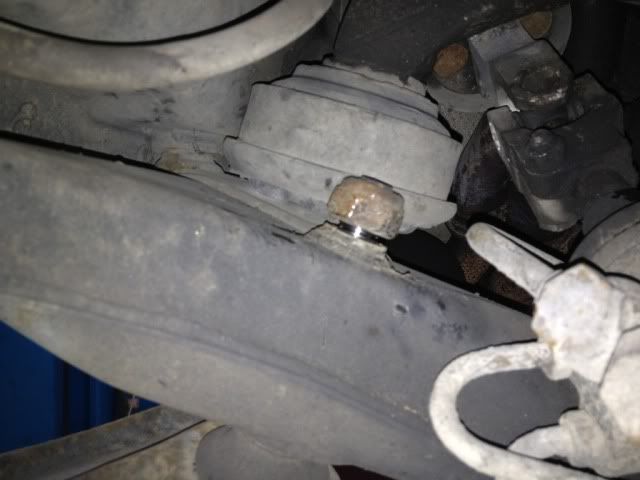
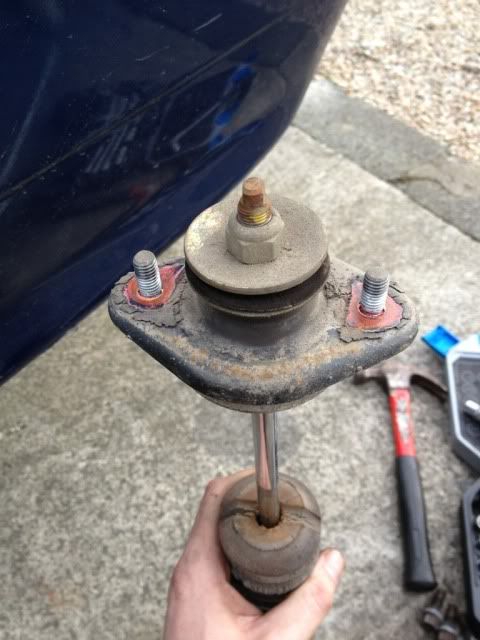
SLIGHTLY KNACKERED : I'm really surprised these weren't knocking!!
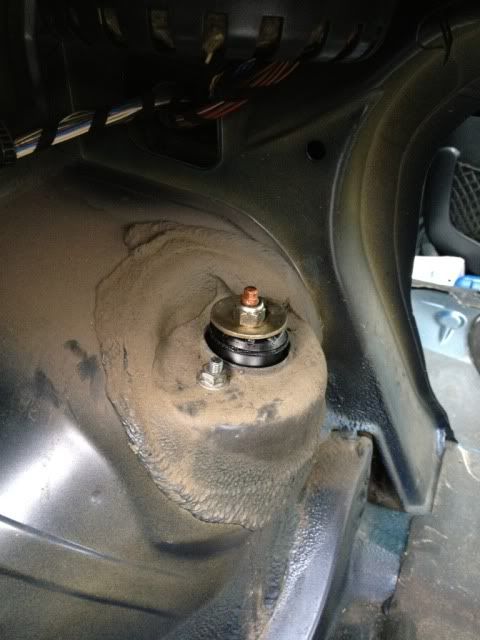
INSTALLED :
With the rear partially stripped it really does make everything very easy the rear wheels I think were last put on by the HULK's mother and even when the wheel studs were loose and off the wheel took a lot of beating to get off the hub so they got a greasing before they were put back on.
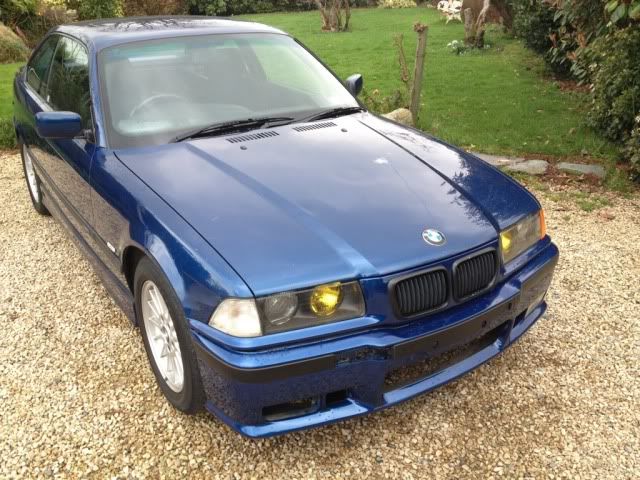
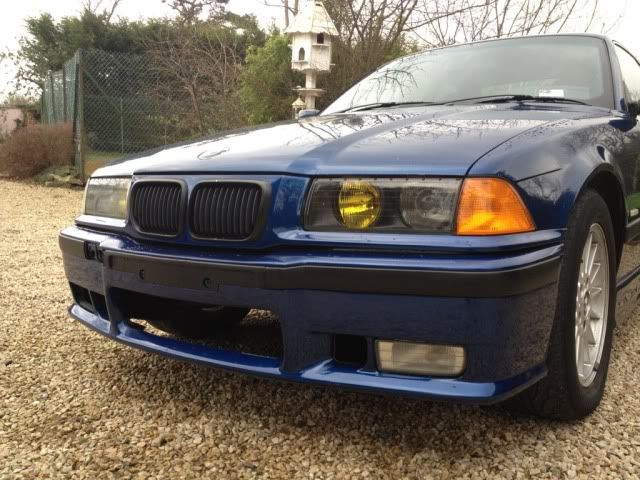
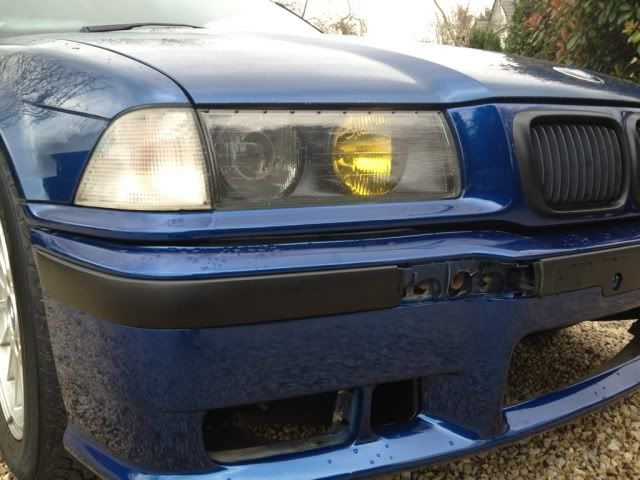
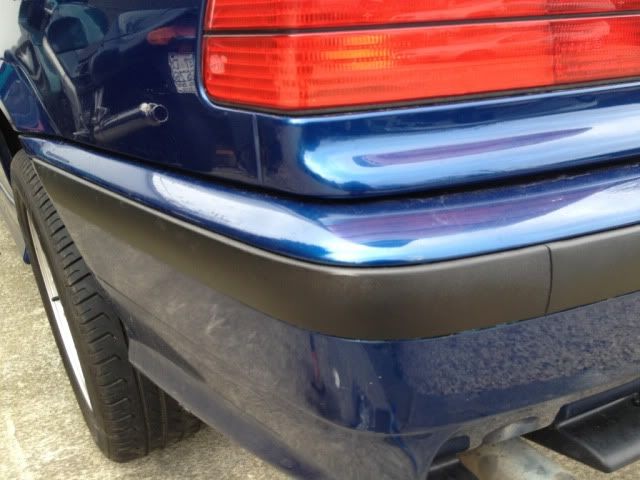
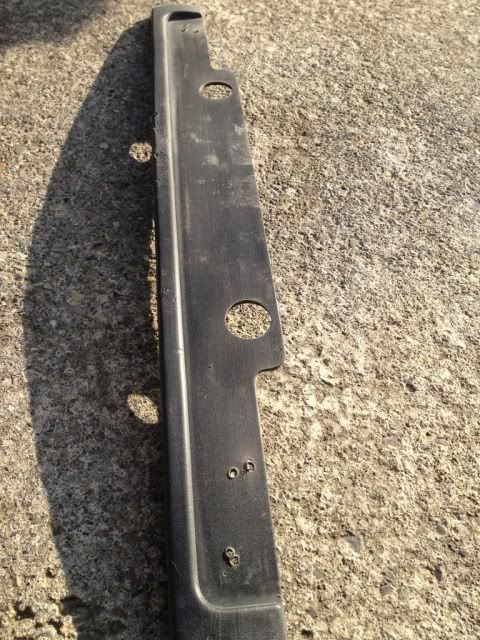
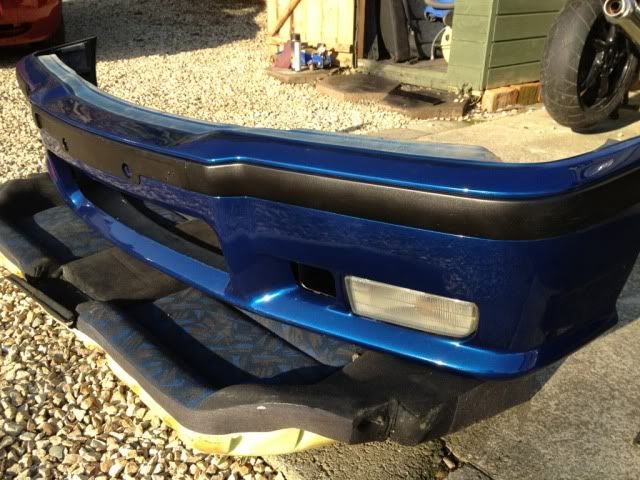
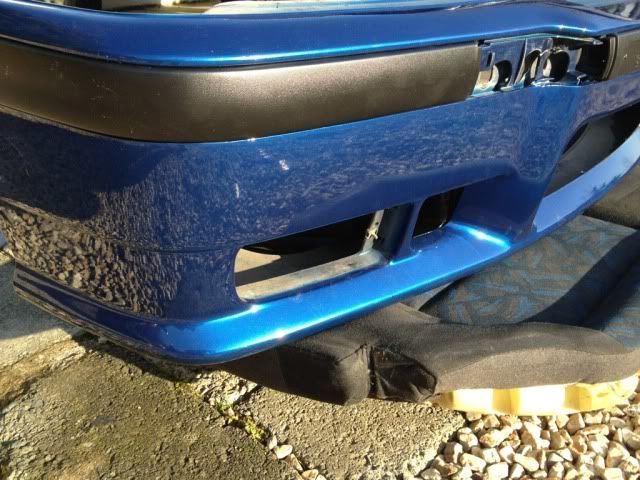
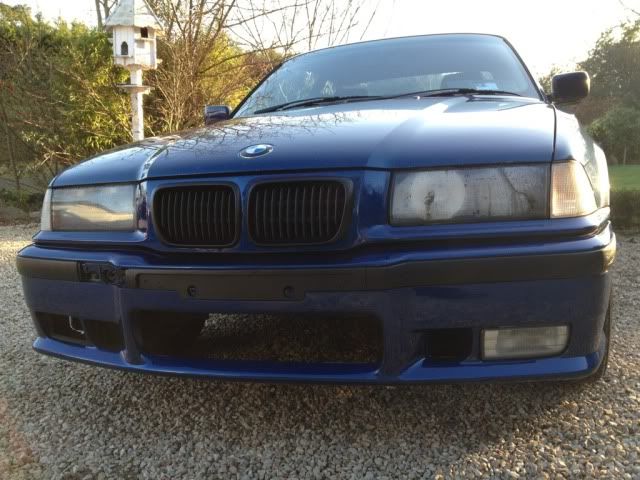
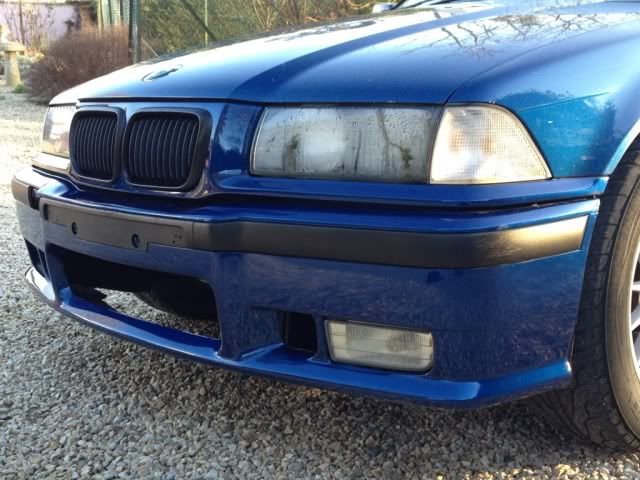
Bumper trim shot in daylight : (repainted)
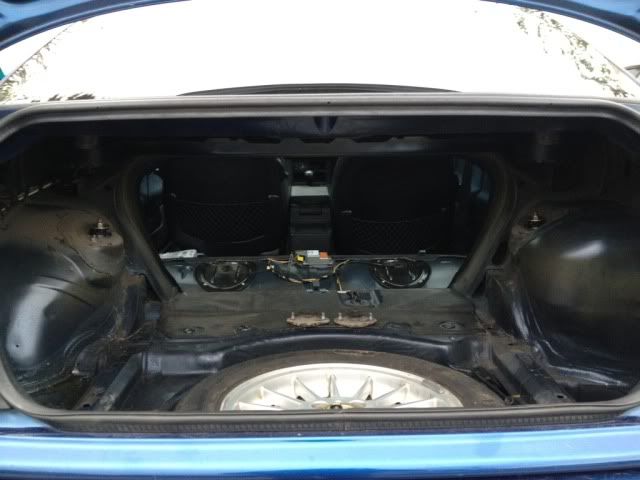
The other reason i didn't get stuck into rear springs etc this afternoon!!!! 
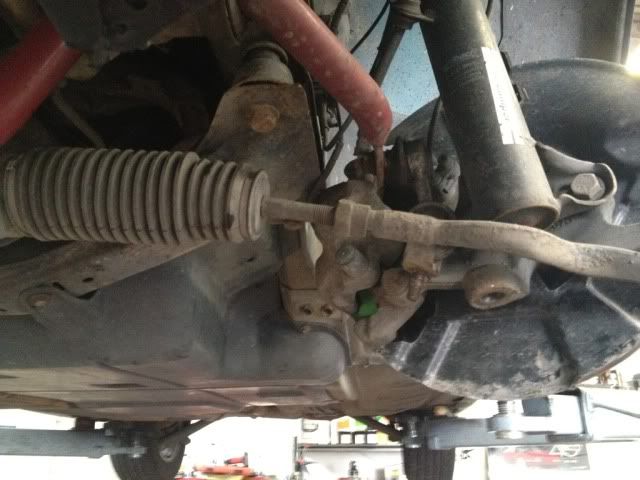
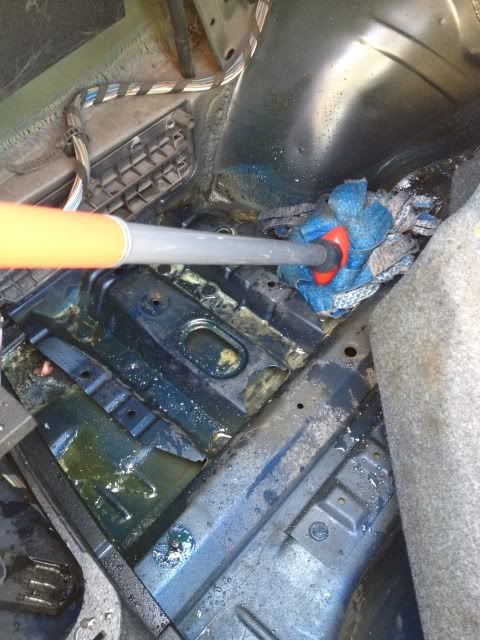
The rain arrived late this avo and hasn't stopped since, will be interesting to see if my leak in the boot returns!!! After looking at the weather it doesn't look good for tomorrow which is a pisser as I was hoping to get the rear springs,arb links, discs, fuel filter, Alt belt and pads on, guess we'll just have to see what happens. I also want to look over my power steering system also as it feels a little stiff at times etc so will check this out too. Wheel bearings a must at this stage also so think that'll be next task along with water pump and thermo.
Thanks for looking,
[hr]
Evening all,
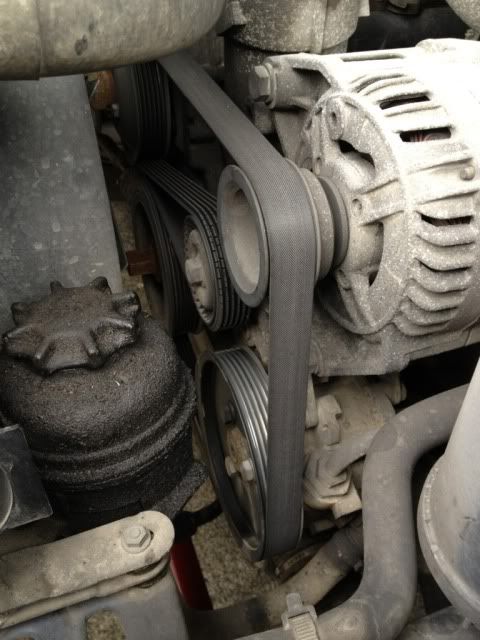
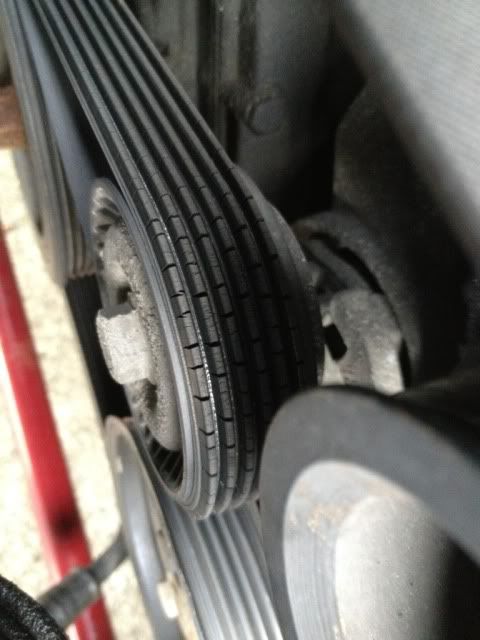
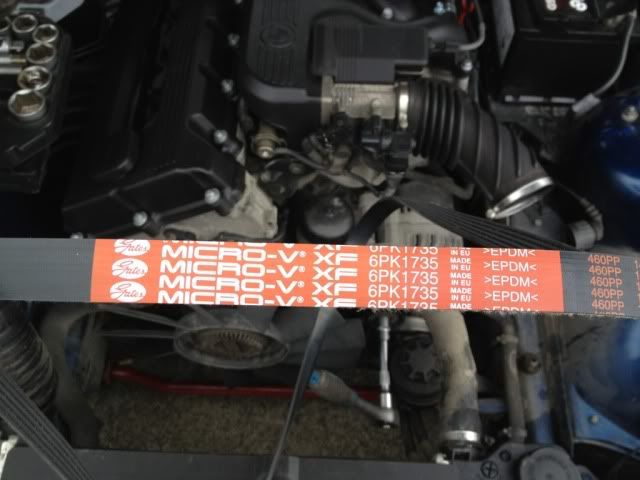
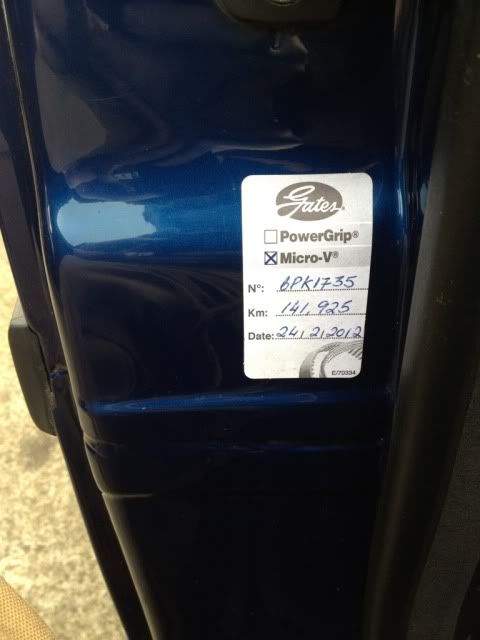
Yet again a lovely day so it was a good time to put in the new alternator belt as the old one was riddle in little cracks, changed just in time by the looks of it. What a nice easy job today as well, getting the old belt off took all of 2 minutes and vice versa with putting the new one on. I decided while i have the airbox out i would do a little spring cleaning under the bonnet and just have a genral poke around
OLD BELT :
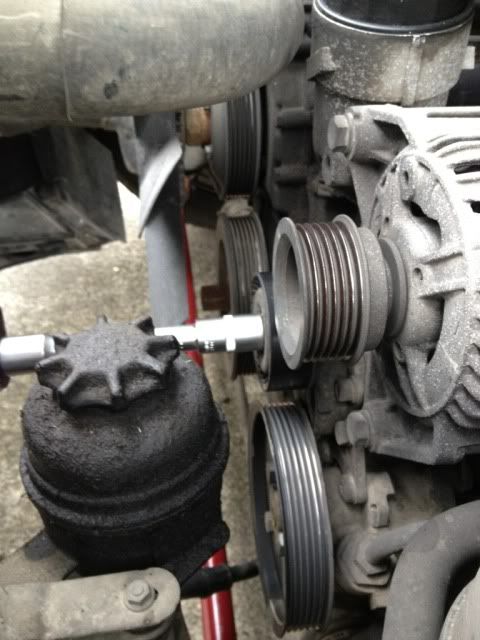
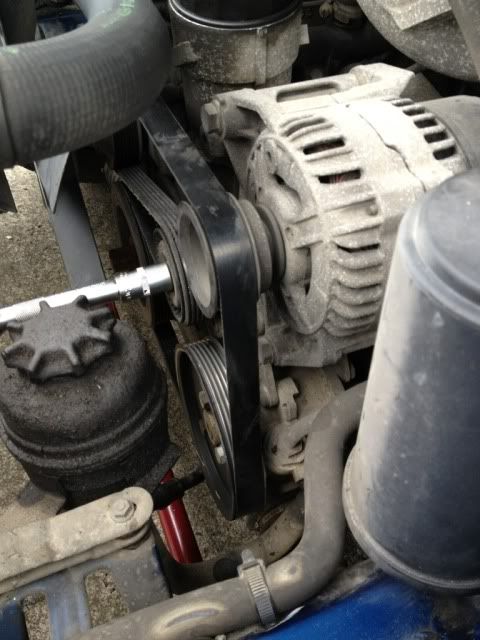
A FEW MINUTES LATER :

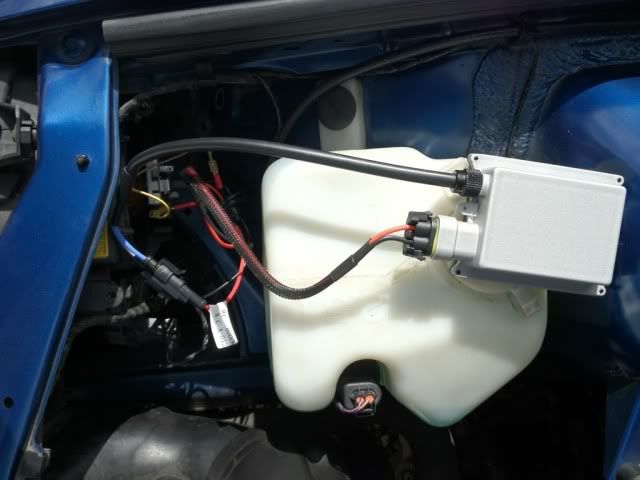
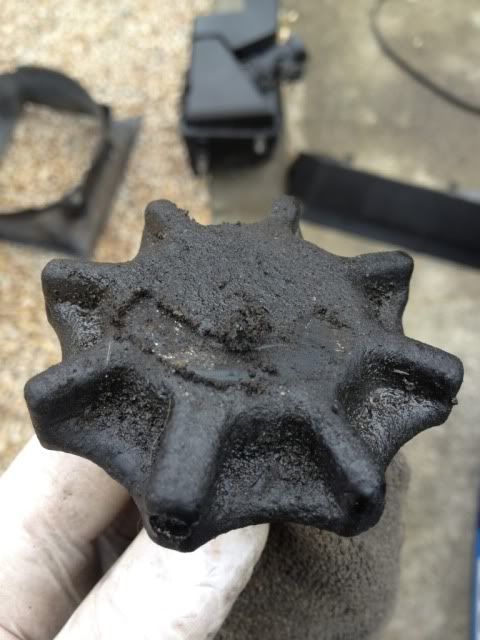
My power steering bottle unsurprisingly was completely caked in crud that i'd say has been building up over the last 13 years, so i gave it a very quick clean as i shall be doing a big job soon the power steering so will be more attentive then
YUMMMMY!!! :
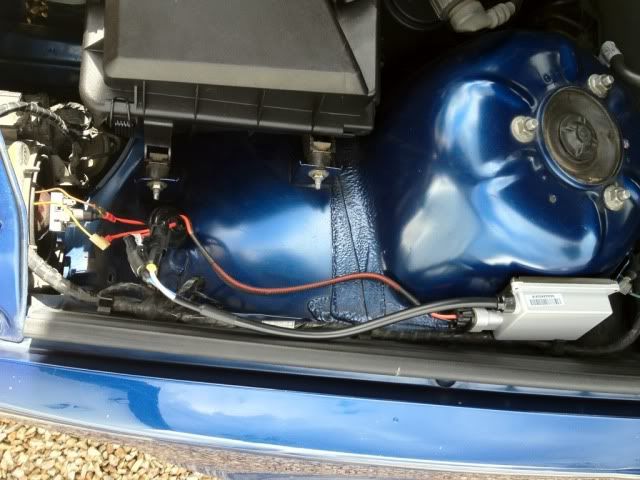
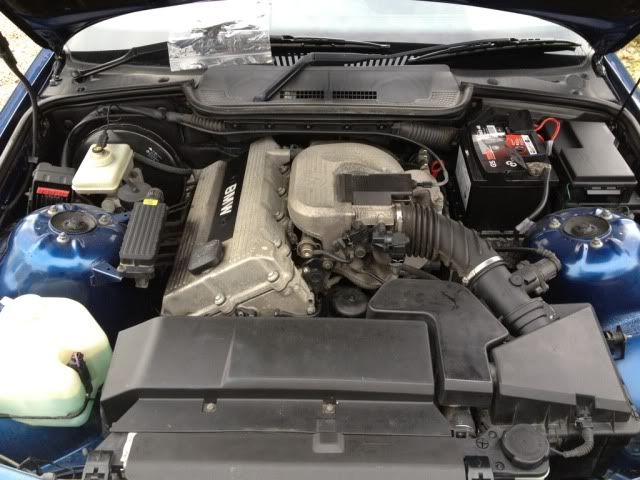
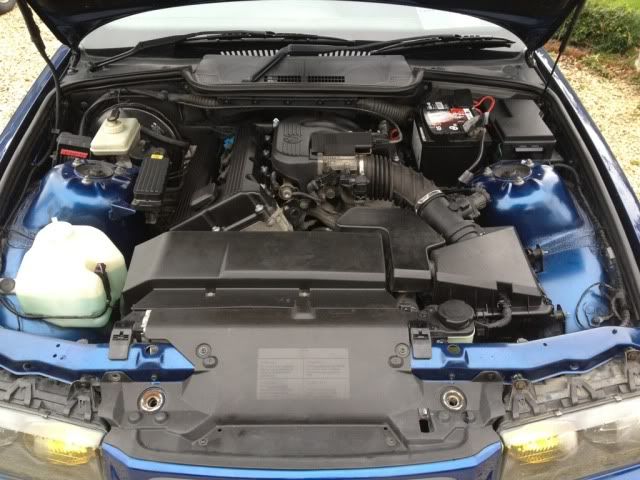
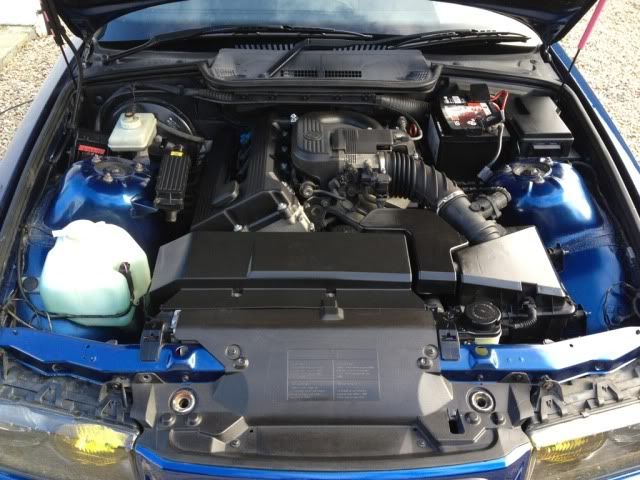
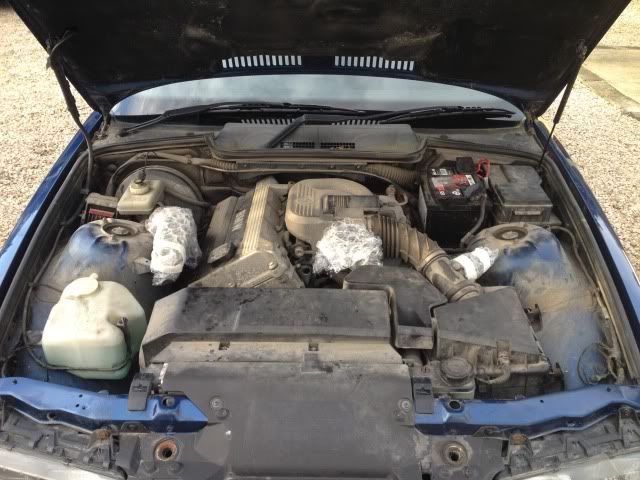
With it all back together i go stuck into getting the engine bay a little bit cleaner, which only took a little while but that led to me washing the car then. In fairness it did need a wash as it was getting a little to dirty for my liking
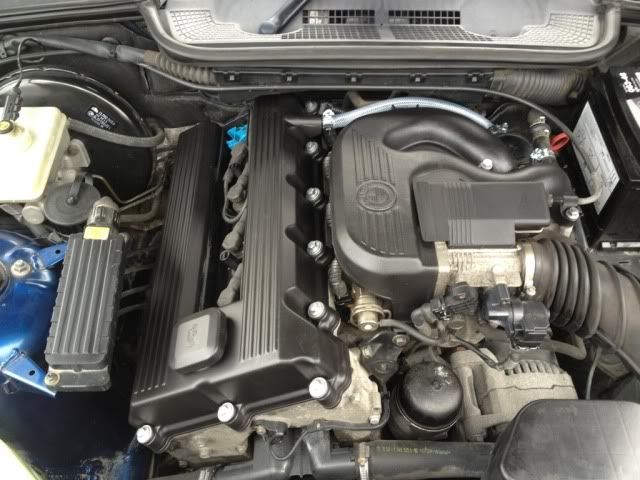
ENGINE GIVEN A MINI DETAILING :
Thanks for looking
-
BMWHaus Site Sponsor
RE: Super4 E36 318isc demo car
NEW INNER DUST SEAL
STEPS I TOOK IN ORDER REMOVING THE OLD BEARING :
1. Slacken off wheel nuts slightly using the 17mm socket
2. Raise car of the ground, I did this by jacking up under the front subframe that way both wheels clear the ground
3. Finish removing wheel nuts then remove wheels, may need a kick or two if the wheels haven't be off in a while and put on with an airgun
4. Remove the black rubber caps covering the caliper slider bolts, using the 7mm allen key undo the caliper sliding bolts. The caliper should be looser now then remove brake pad wear sensor (PASSENGER SIDE ONLY in my case)
5. Using the 16mm ring spanner/socket undo the brake caliper bracket bolts
6. Caliper and bracket should all now pull away, remove old pads and cable tie the caliper up to the shock spring. DO NOT LET THE CALIPER HANG BY THE FLEXI BRAKE PIPE
7. Remove small brake disc screw, it was an allen key head also but can't remember size think it a 9mm
8. The discs in my case wwere being replaced so I gave them a good belt with a hammer to get them off, if you are keeping the discs go about removing them carefully so as not to damage them.
9. Remove front hub dust cover using flathead to prise it off.
10. The hub nut is now visible, using the flat head and a hammer tap out the notches in the hub nut, now get your 46mm socket and breaker bar and undo the hub nut.
11. Once fully undone you are now ready to remove the bearing and hub, in my case hand pulling power was all that was needed and the old bearing slid off leaving the inner bearing race still on the stub axle (you may need a bearing puller)
12. With my fish crow bar I was able to place it behind the inner race and prise it off the stub axle very easily
13. I then used the same pry bar to remove the inner dust seal which again came away without a fight. Stub axle is now fully visible for inspection
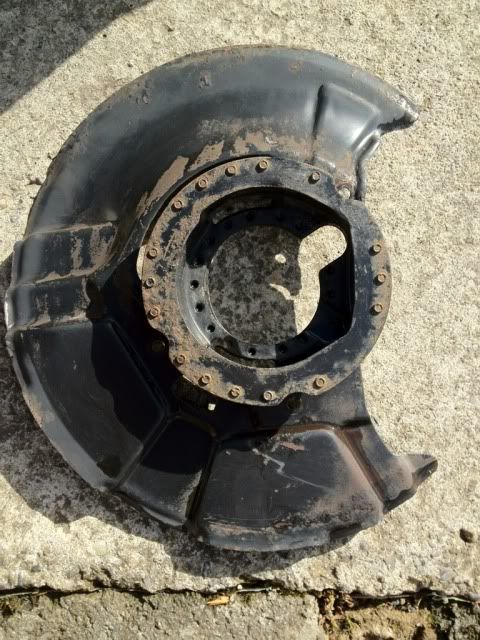
14. I removed my brake dust guard to give it a good clean, it's only head on by 3 x 10mm bolts
STEPS TAKEN IN ORDER PUTTING ON NEW BEARING :
1. Refit brake dust guard
2. Fit new inner dust seal, this taps in to place using a flat head or chizel
3. Grease stub axle shaft
4. Sit new bearing hub assembly onto stub axle, get it aligned straight and push in on as far as it will go, now get you 36mm socket and place it on the outer bearing race (NOT THE HUB ITSELF) and tap/hit with even hammer blows till the hub can go back no further
5. time to fit your NEW 46mm hub nut, tighten / torque to 213 ft/lbs
6. With the chizel and hammer notch the new hub nut so it pushes the nut edge in to the stub axle cut outs (this secures the hub nut from coming off)
7. Refit brake discs, refit brake discs screws with copper grease
8. Refit brake caliper and pads
9. Refit brake pad wear sensor
10. Check over everything you have done at lease twice
Hope this will be of some help to people on here, if I have missed anything let me know as I said I did this inbetween showers so could well have missed a step. I did miss taking some more pictures of the bearing itself installed, I have now to put up 60 miles of run in on my new pads a discs which I always do before i can do some spirited driving again Here are some pictures that I did manage to get today when the sun was out.
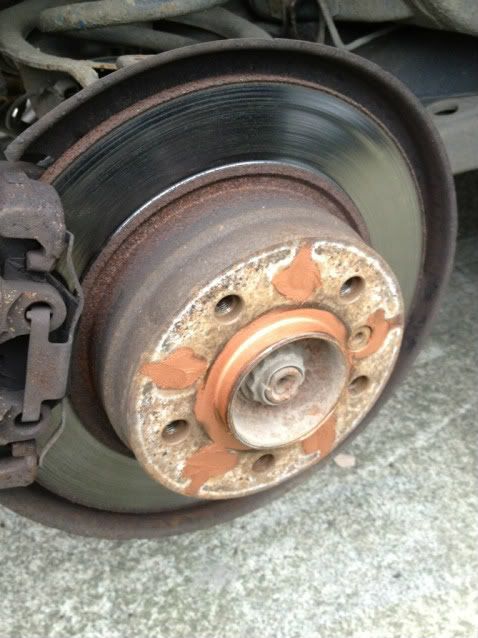
OLD DISCS AND PADS DRIVER SIDE :
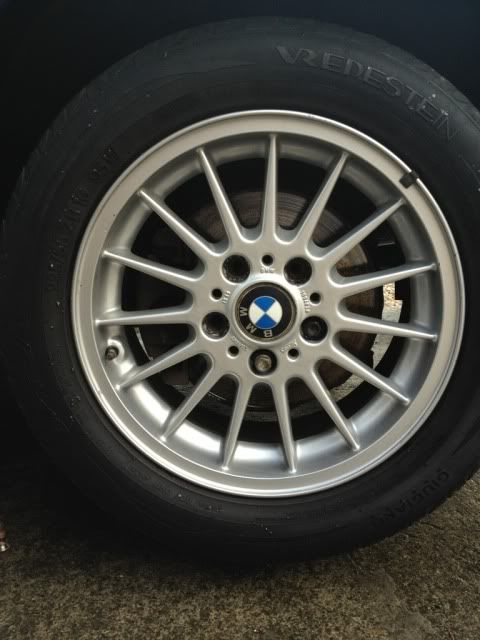

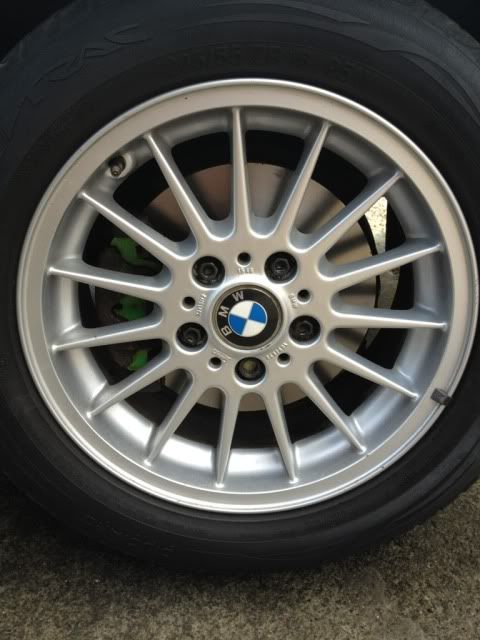
NEW DISCS AND PADS DRIVER SIDE :
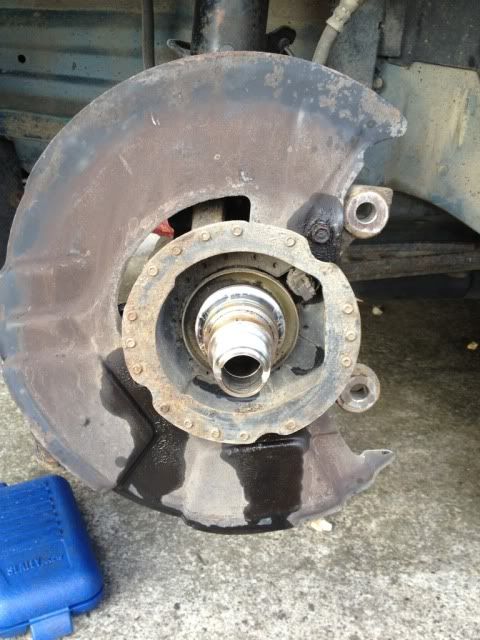
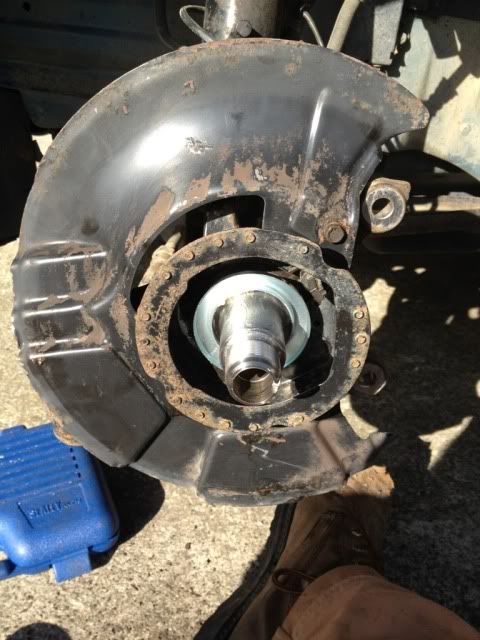
PASSSENGER SIDE DISC,PADS AND HUB BEARING REMOVAL :
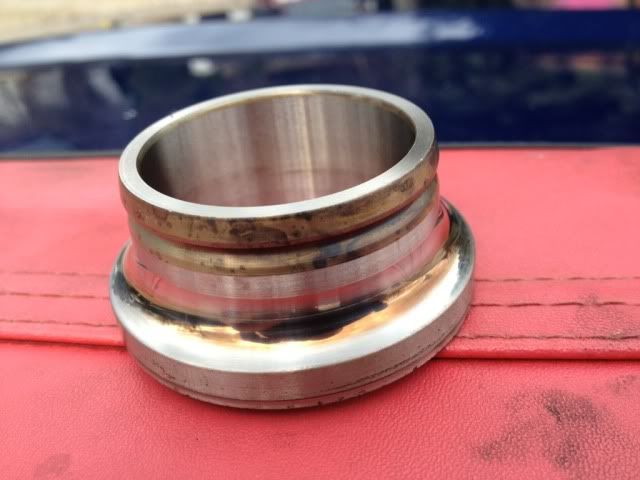
HUB BEARING :
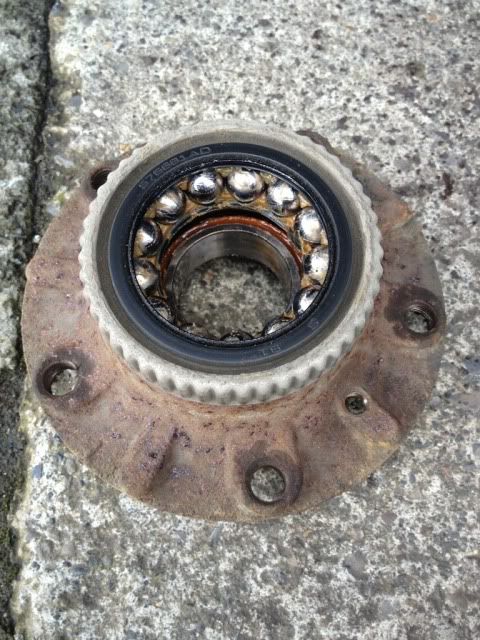
INNER BEARING RACE STUCK TO STUB AXLE :
INNER BEARING RACE REMOVED :
INNER RACE :

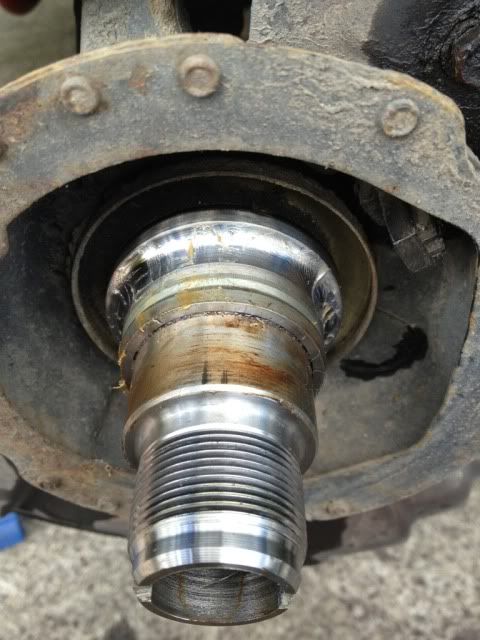
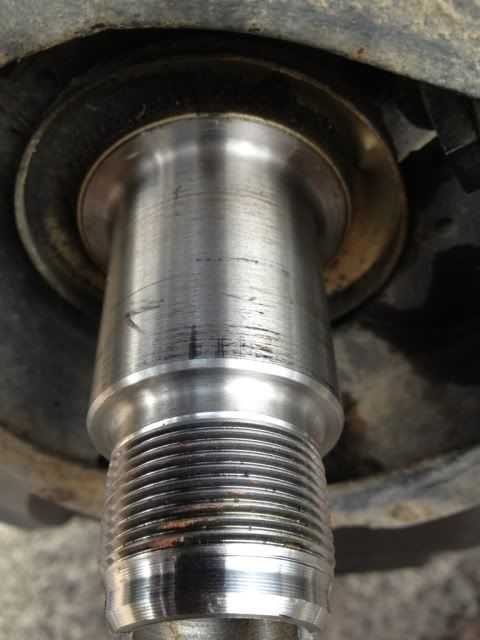
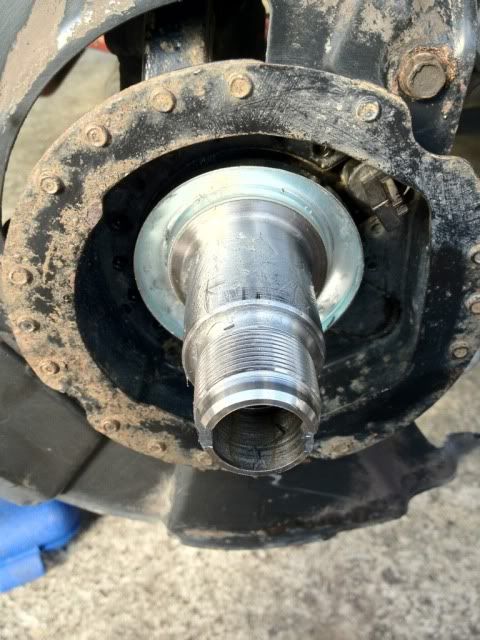
STUB AXLE SCOURING :
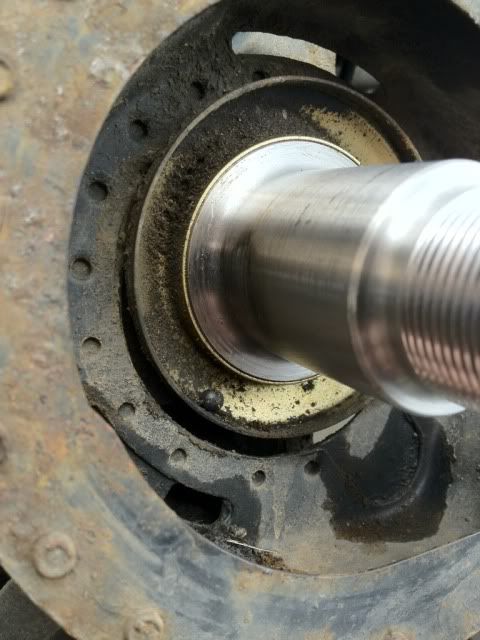
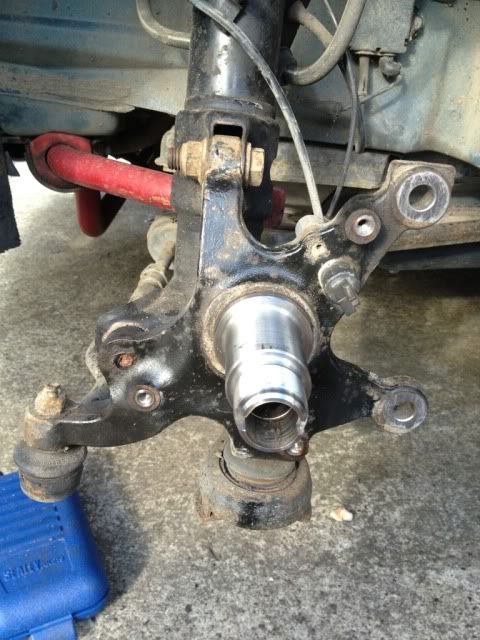
STRIPPED STUB AXLE :

OLD INNER DUST SEAL :

ALL CLEAN :
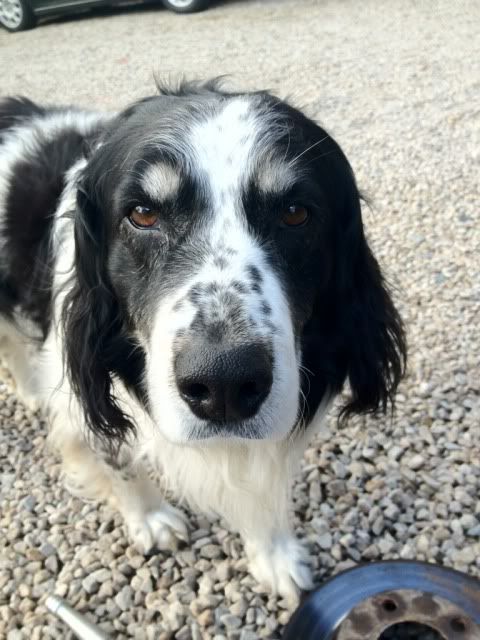
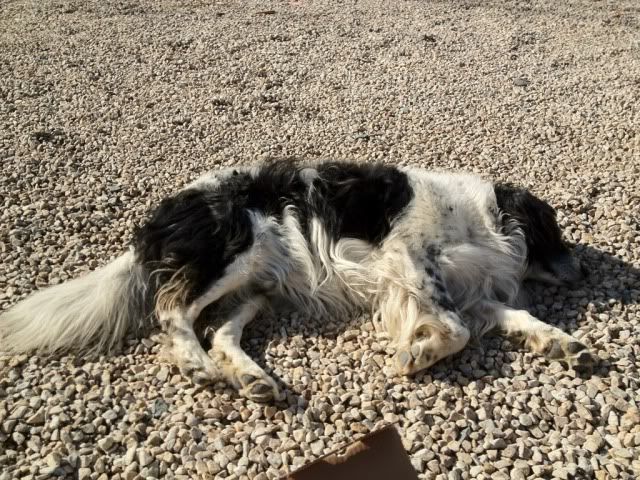
THE QUALITY WORKMANSHIP ASSESSOR STOPPED BY TO CHECK EVERYTHING OVER!!!!!!!
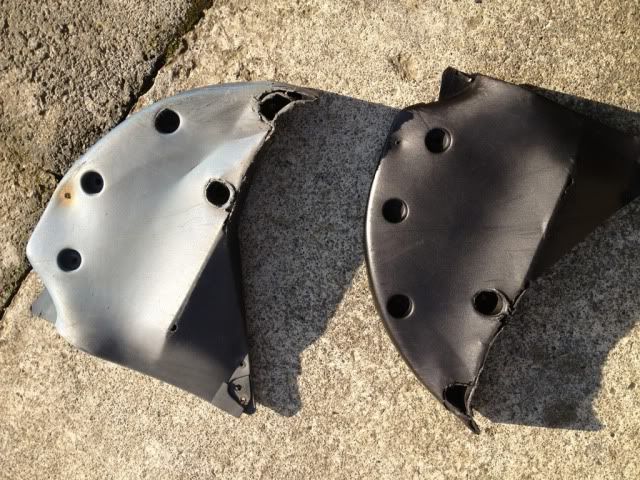
DIRTY DUST GUARD :
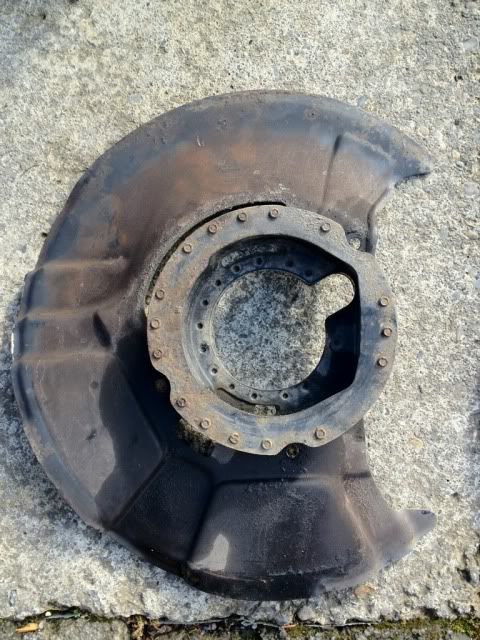
CLEAN DUST GUARD :
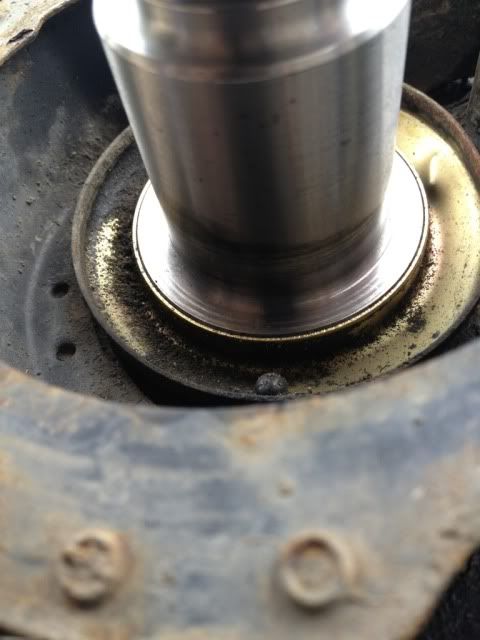
INSTALLING NEW INNER DUST SEAL :
THIS OLD PATROL GR HUB NUT SOCKET CAME IN HANDY FOR INSTALLING DUST SEAL : TAP TAP TAP!

INNER DUST SEAL IN PLACE :
At this point it started to piss rain so had to wrap everything up and bolt indoors...... when I got back outside the sky was very dark and gloomy so I just made a burst for it and got stuck back in, thus I have no pictures of the new bearing actually installed . As soon as I did get the new bearing installed the feckin sun came back out for a short while which was nice and allowed me to finish without looking at the sky every minute.
BEARING HUB INSTALLED AND NEW DISC ON :

DROPPED SOME WHISKEY INTO THE QUALITY WORKMANSHIP ASSESSOR'S WATER AND THAT TOOK CARE OF HIM FOR A WHILE
Thanks for looking
-
BMWHaus Site Sponsor
-
BMWHaus Site Sponsor
-
Junior Member
RE: Super4 E36 318isc demo car
That was a great read, good work
 Posting Permissions
- You may not post new threads
- You may not post replies
- You may not post attachments
- You may not edit your posts
-
Forum Rules


 Reply With Quote
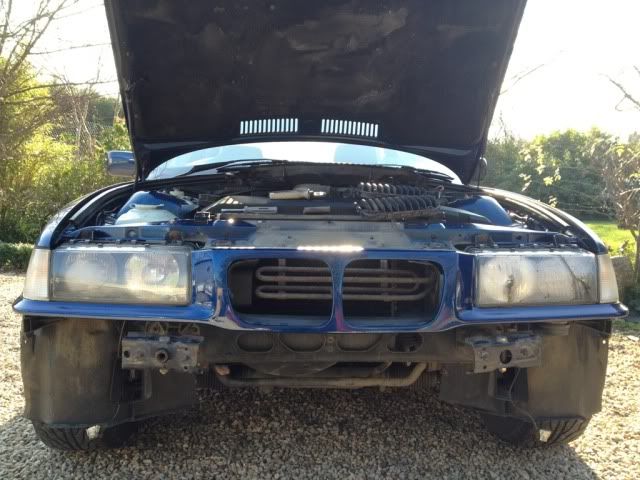


 eek
eek mad:jaw-dropping "B@ST@@@@@@@RD". A few minutes later and all was sorted and redone.....Calmies again