-
Headlight splitting e39
This is how I did mine
I changed the headlight adjusters, absolute bitch of a job to figure out the first time you do it. First lamp took me just short of two hours to split, I had the second one completed in about half an hour total
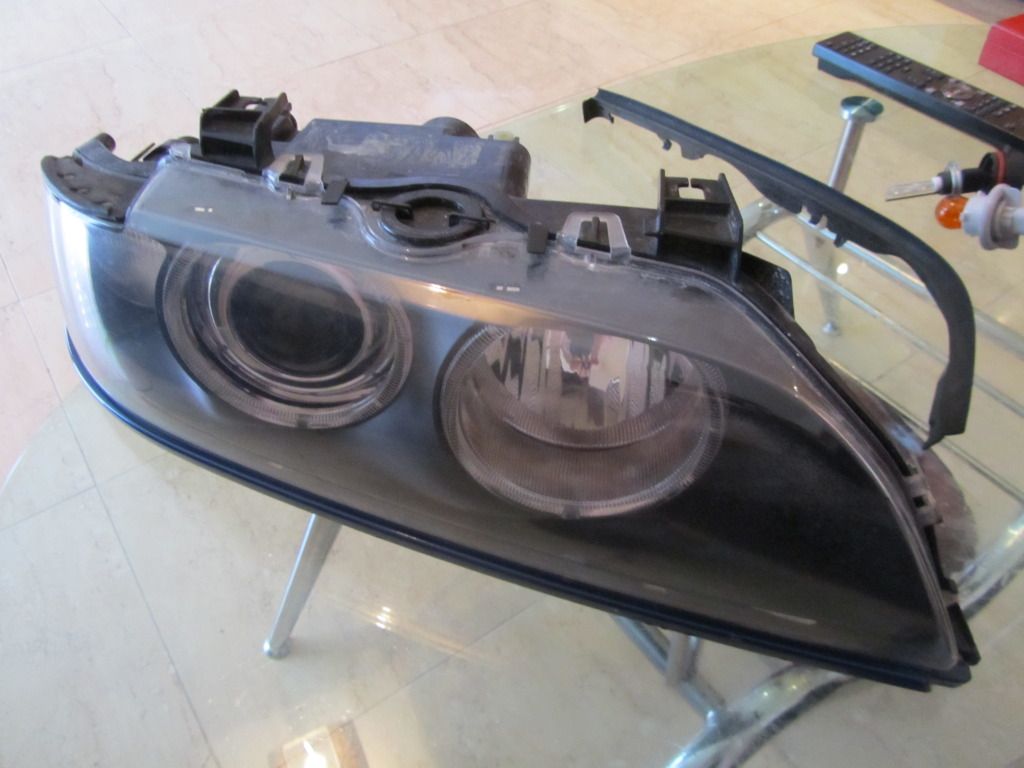
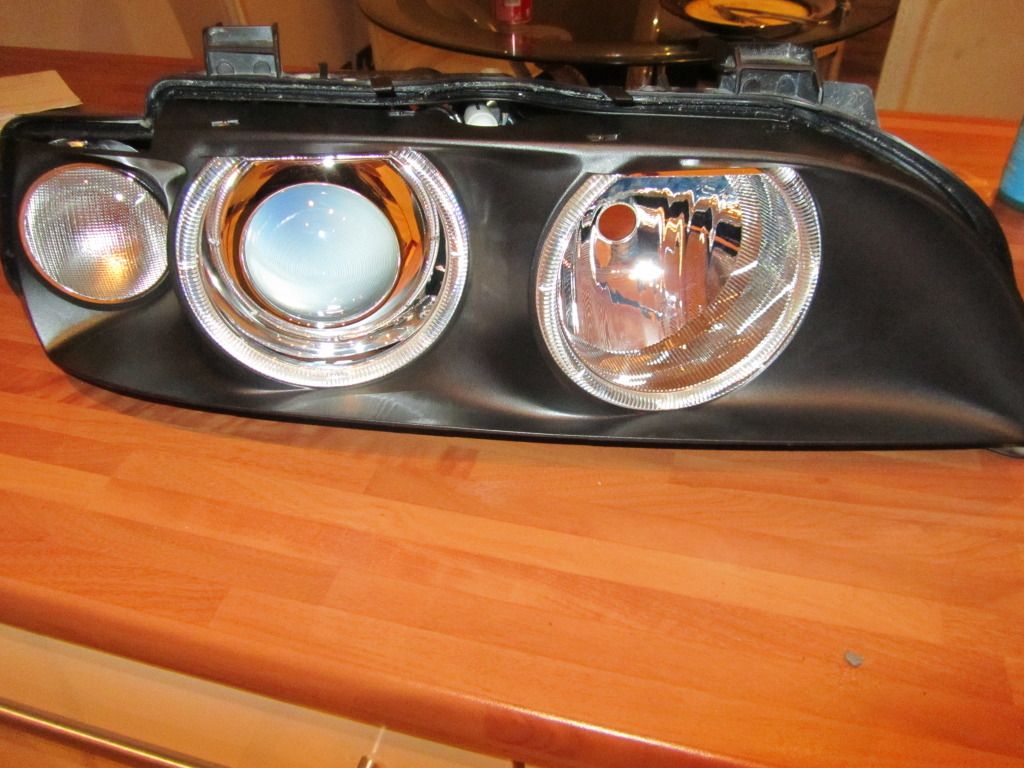
Started out with this
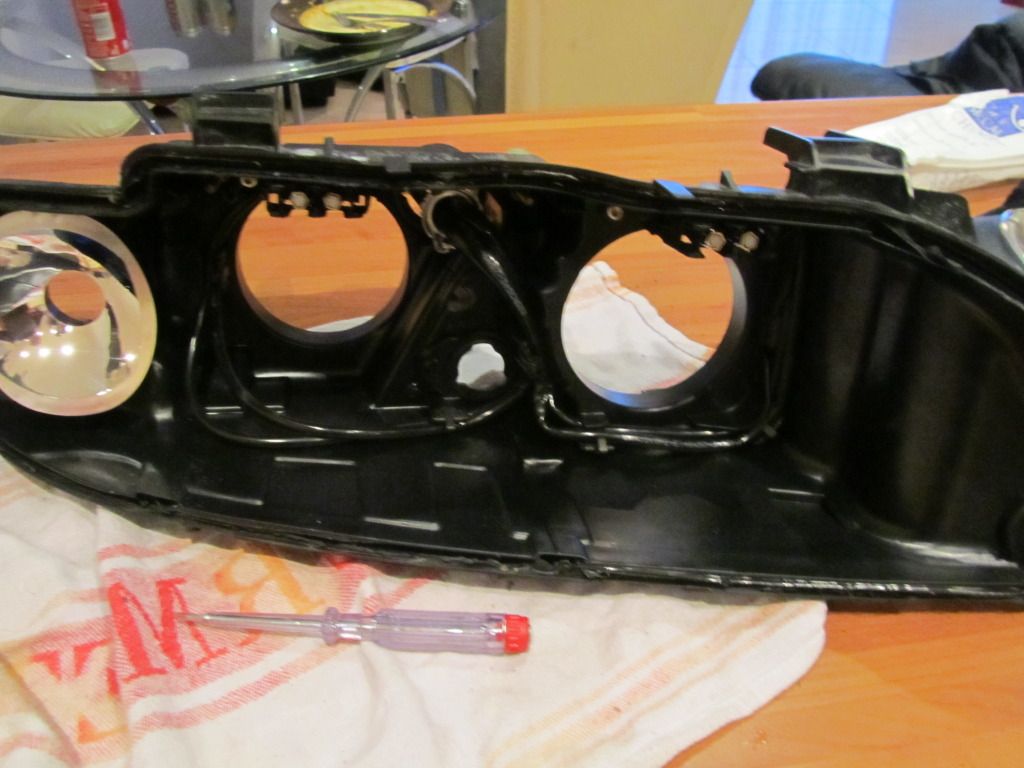
Removed all the bulbs, the décor strip from the bottom and the rubber seals, one on the indicator side of the headlight and the one obviously on the top.
Pre décor strip removal.
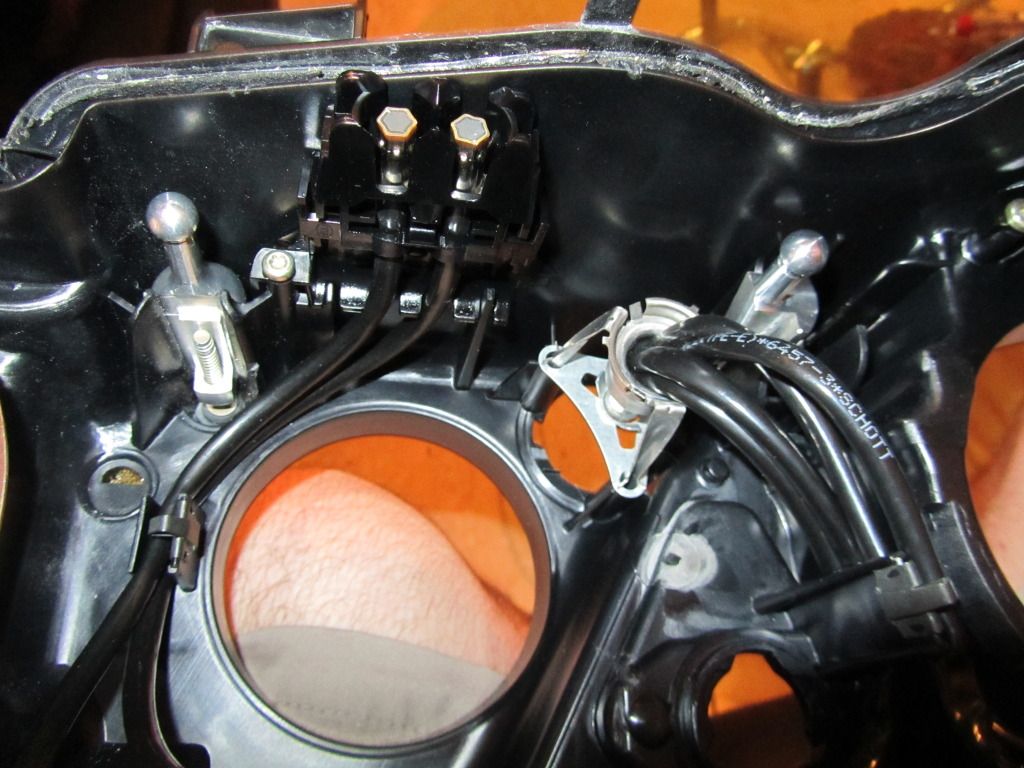
You can see the problem here, its not actually the adjuster that controls the height of the beam its the one controlling horizontal alignment, at first I figured I would try to remove the broken adjuster without splitting the lamps.
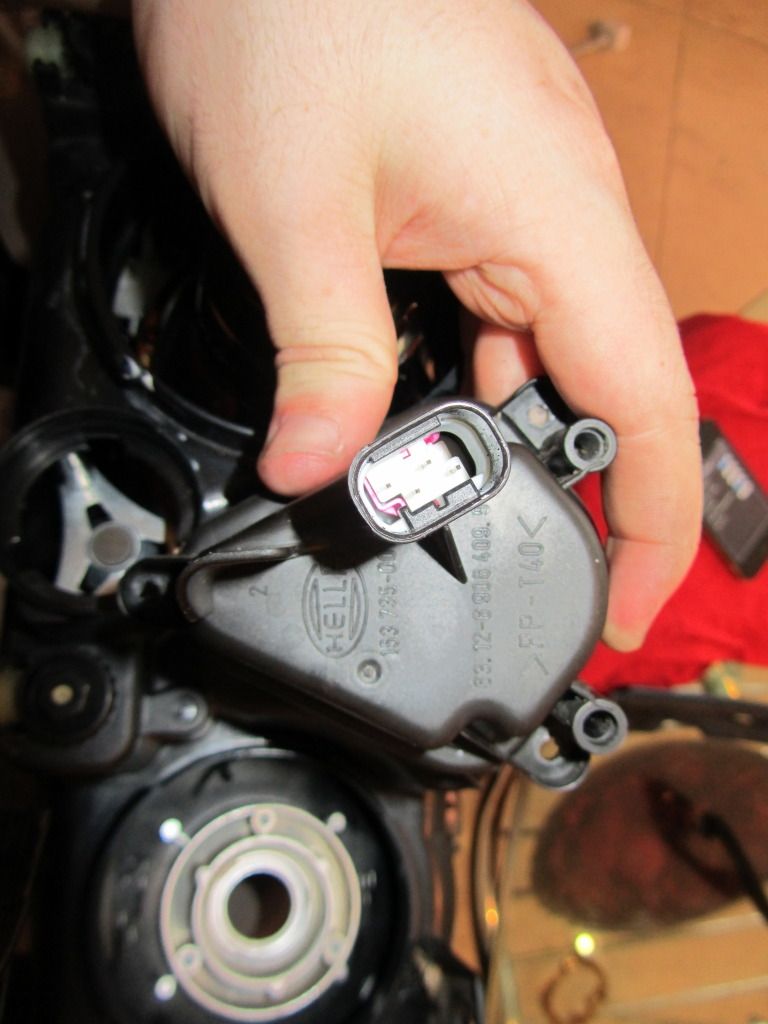
So I removed the dynamic range adjuster.
Its a bit tricky as you need to move the adjuster towards the right if you were facing the back of the lamp.
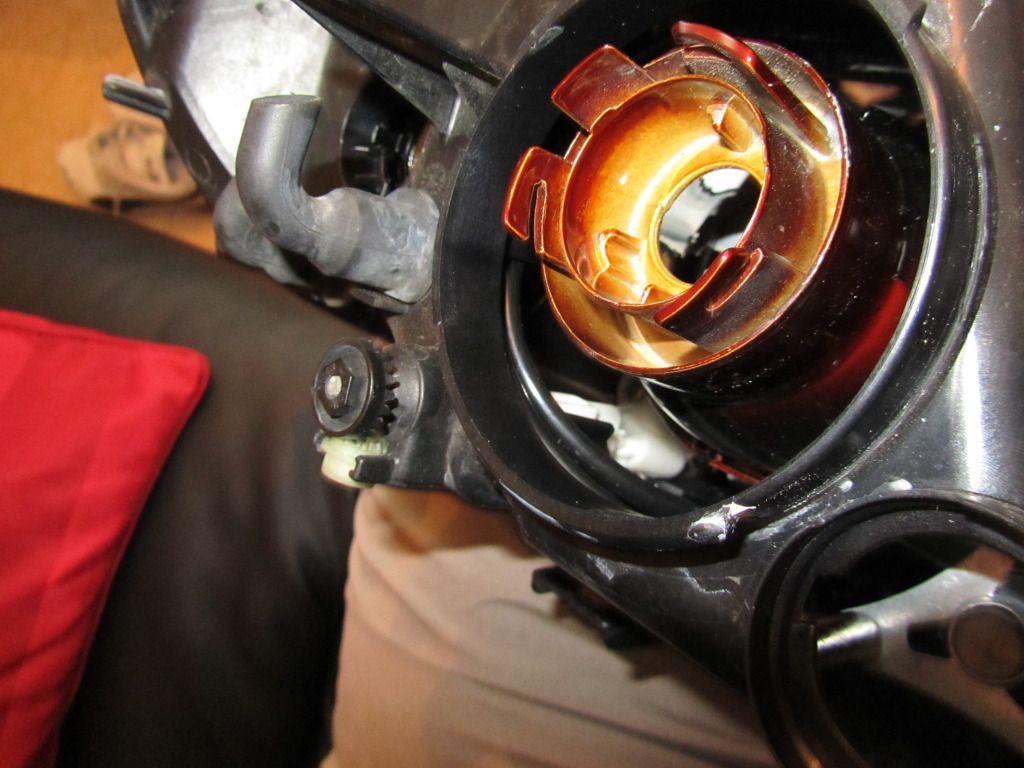
Range adjuster
You can see here how it needs to be moved to the right to release it, I got it out at an angle for the opening for the low beams.
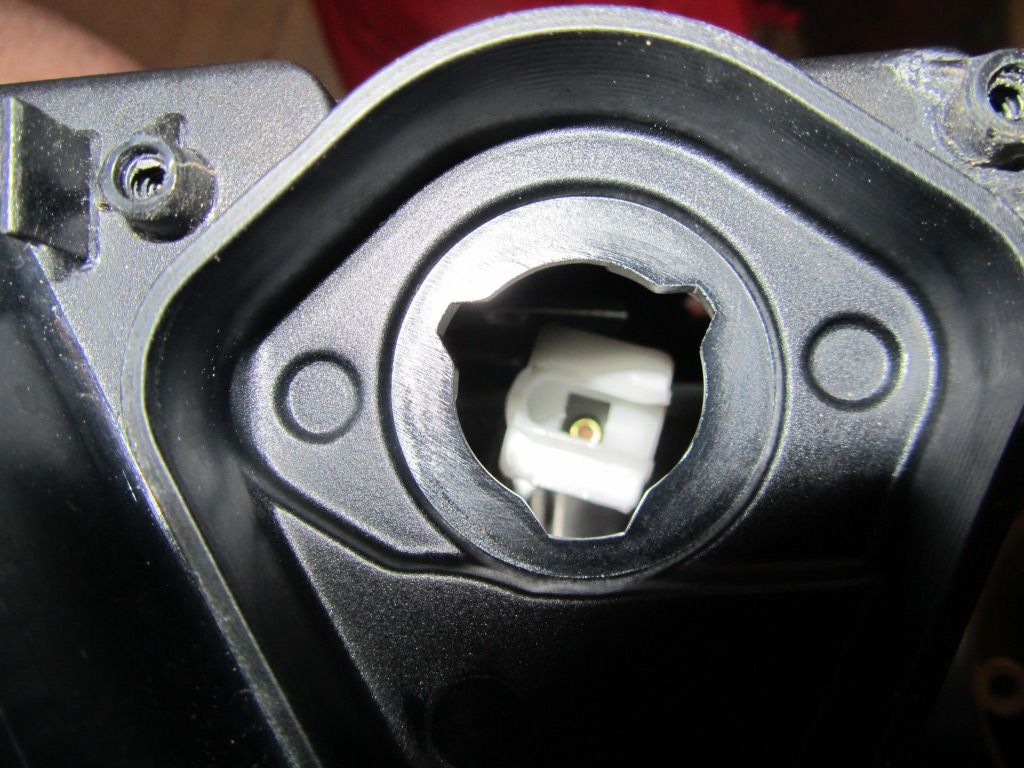
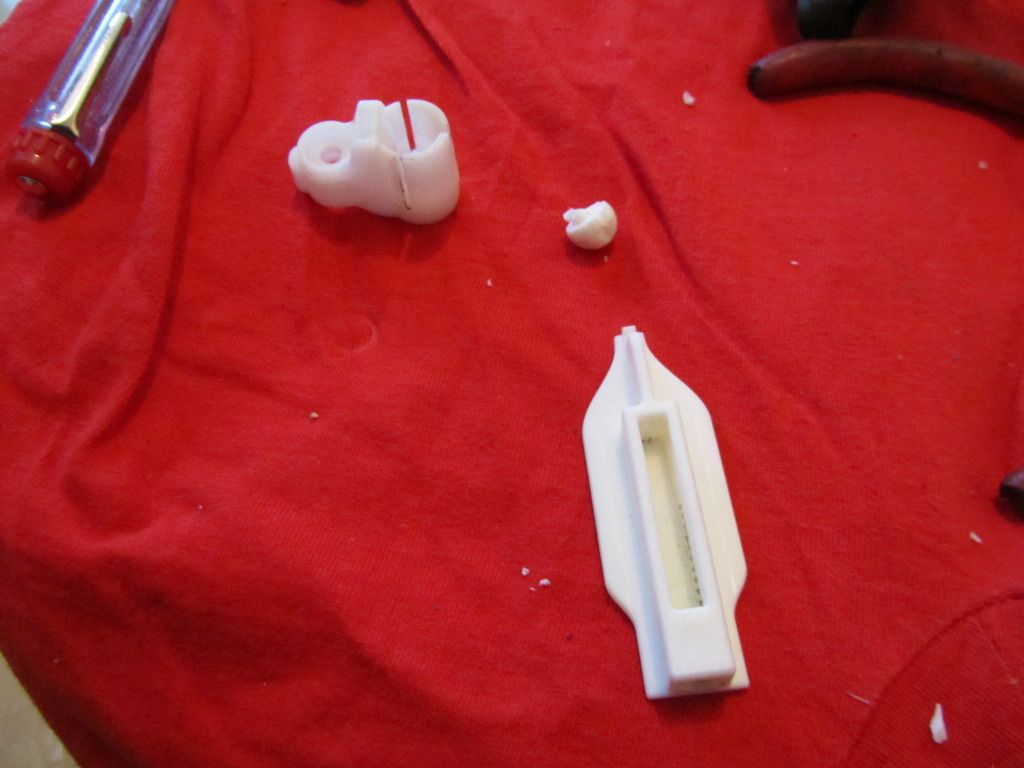
I took out the anchor that is located on the inner housing that you would actually be adjusting. Its a T10. I eventually got both sides out, the actual adjuster itself is released by simply unwinding it from the adjuster screw.
I tried my best but I cannot fathom a way of removing the adjusters without splitting the lamps and I wasn't too keen on heating them up but after 30 mins of failed attempts at getting the aluminium adjuster in I decided to do it.
I used a heat gun, I don't think you could do it too easily with a hair dryer and they won't fit too easily in a domestic oven.
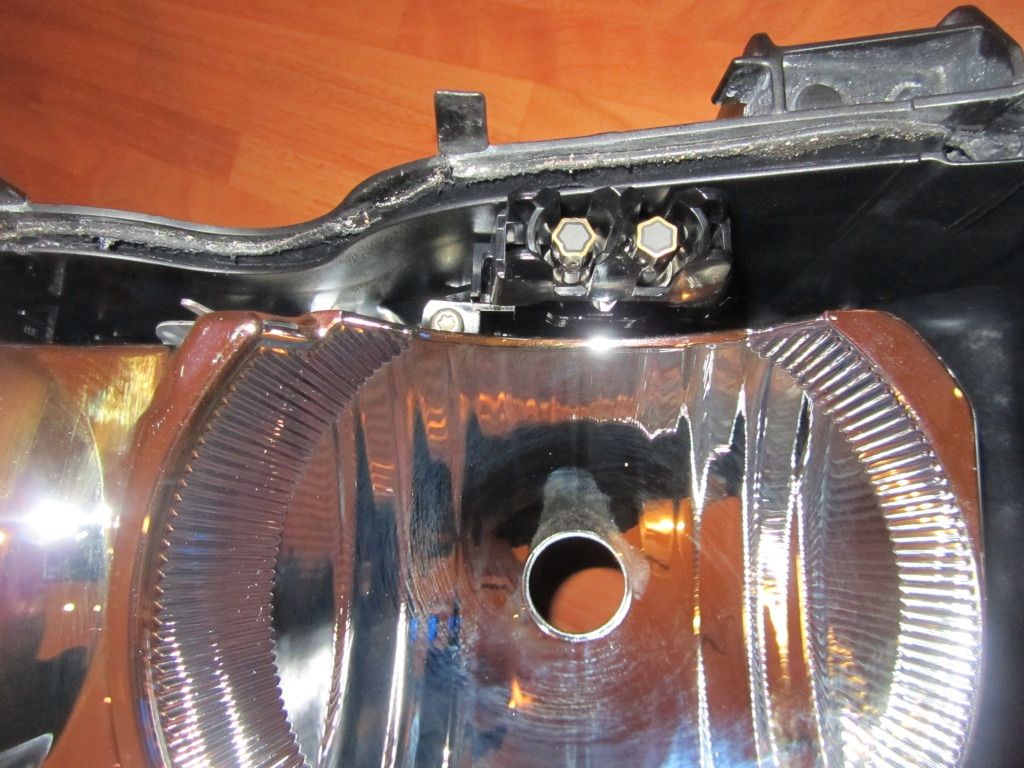
You need to first remove the 2 t10's that are holding the lamps together on the rear indicator side of the lamp then just heat it up.
I started from the top and used the access hole for adjusting the beam pattern as a grab point. It took quite a few times heating and prying before it let go but eventually I got it split. There was no need to use any form of lever at any stage btw.
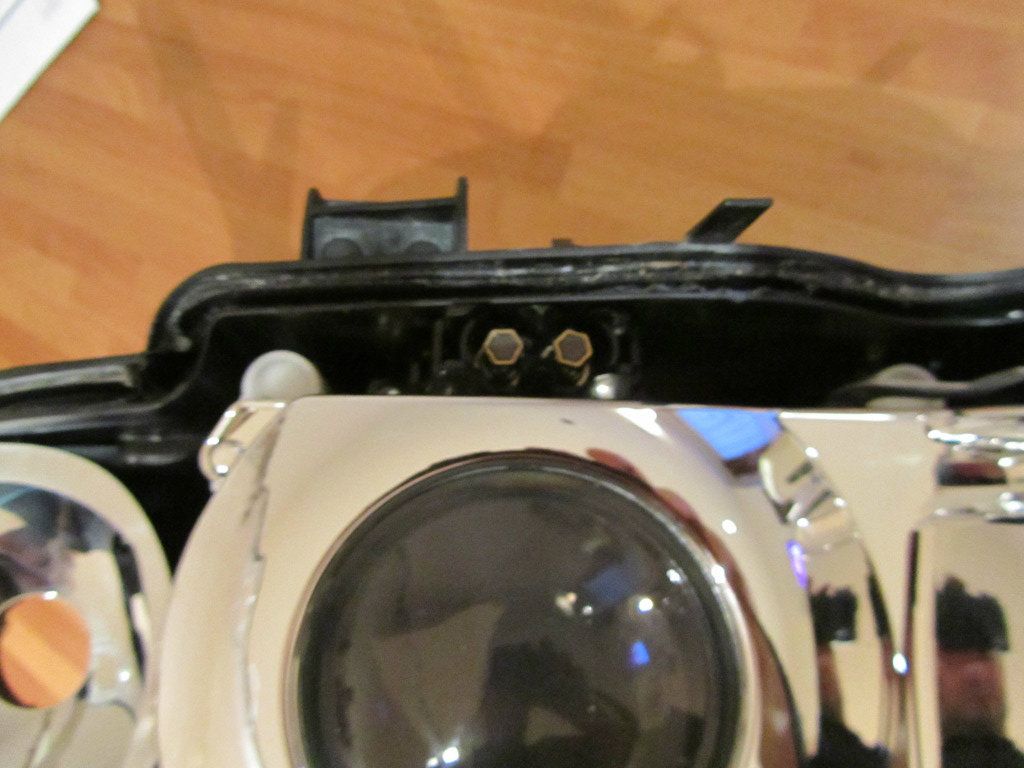
Back of the projector
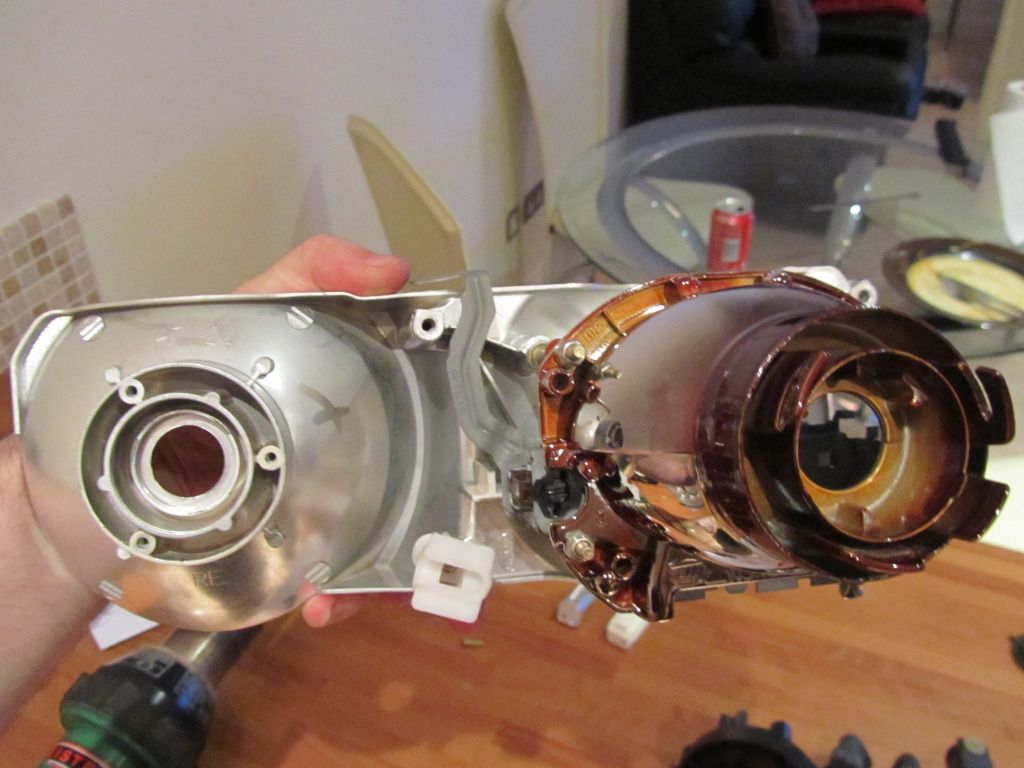
Incidentally, what you could also do at this point with the stock facelift lights is remove the stock projector and bolt a bi-xenon projector from a C6 RS6, it is a direct bolt on retrofit, obviously you would need to wire the controller for the electromagnet but its easy to do.
Front of the projector housing
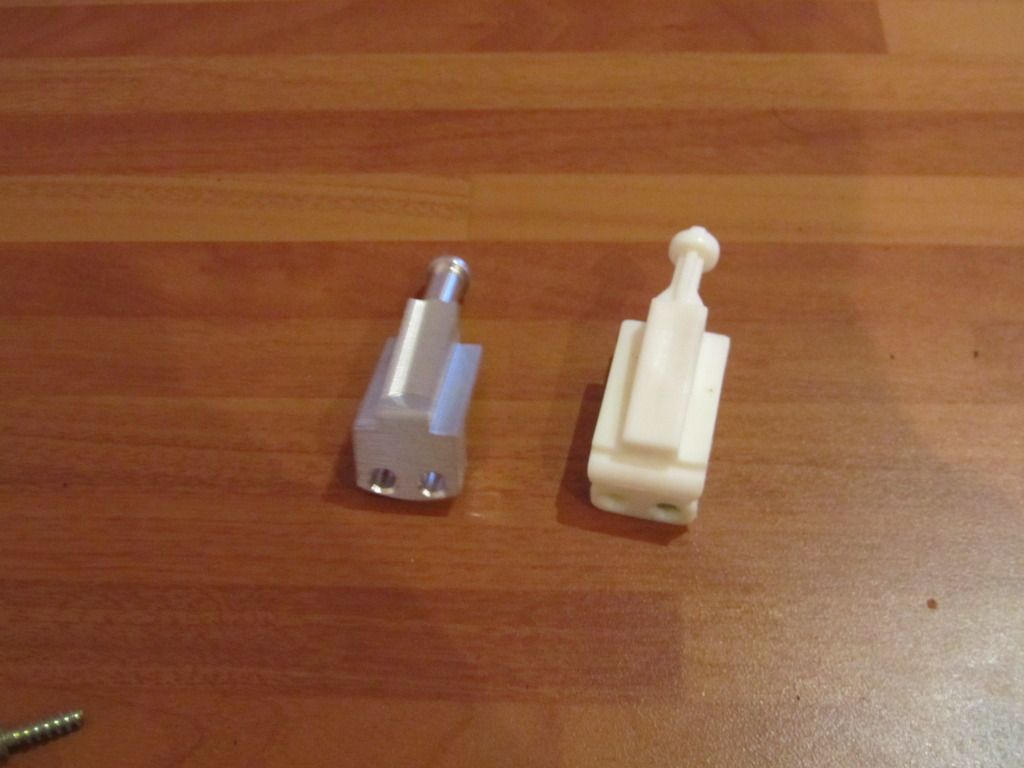
I removed the vertical adjuster
Absolutely fine but I had the aluminium one so i swapped it anyway.
Fitted the new adjusters, it takes quite a bit of force to fit these at first as the screws need to cut the thread into the aluminium, I did it with a 10mm socket on the back of the lamp.
One thing worth noting is when assembling the lamps its easier to fit the dynamic range adjuster first then allowing the vertical and horizontal adjusters to simply clip into the housing otherwise you're fighting with space to clip the range adjuster back.
Make sure these fibre optic surfaces are clean
Snap the inner housing back into place.
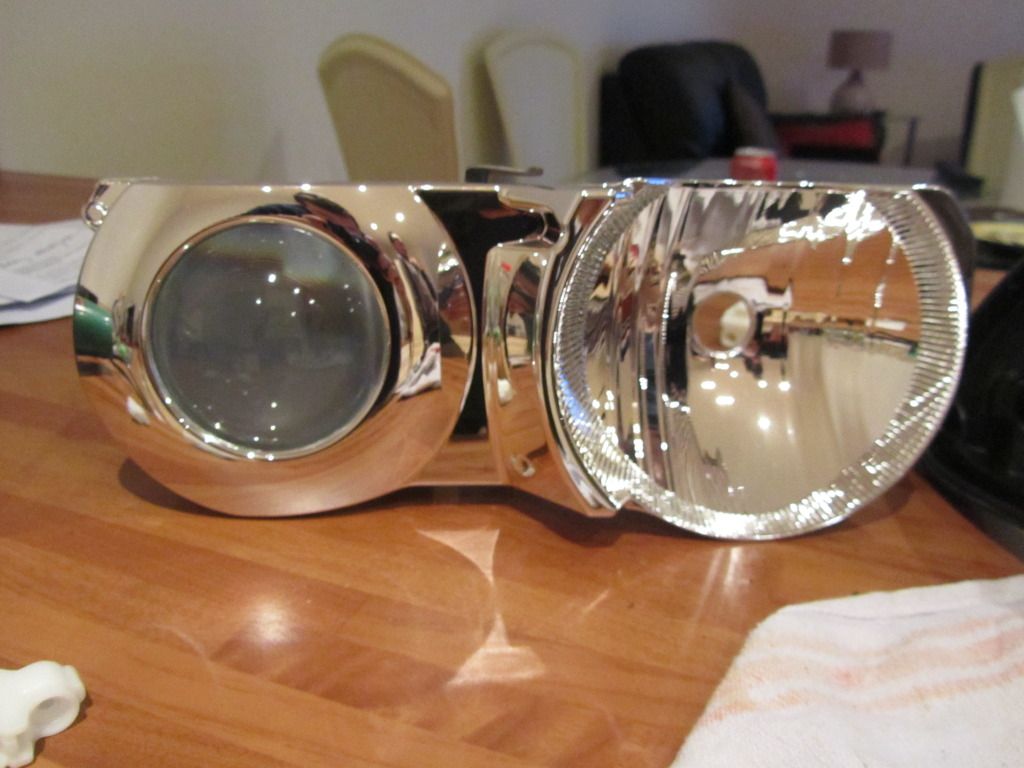
All you need to do now is reassemble the lamp, I was constantly cleaning with a microfibre cloth and a bit of cleaning gel.
I didn't strip away the glue, I simply reheated the lamp and put it all back together.
No movement anymore and the adjusters work perfectly and I'm happy knowing I never need to split the lamps again, unless of course I decide to retrofit Bi-xenons 
 Posting Permissions
- You may not post new threads
- You may not post replies
- You may not post attachments
- You may not edit your posts
-
Forum Rules


 Reply With Quote